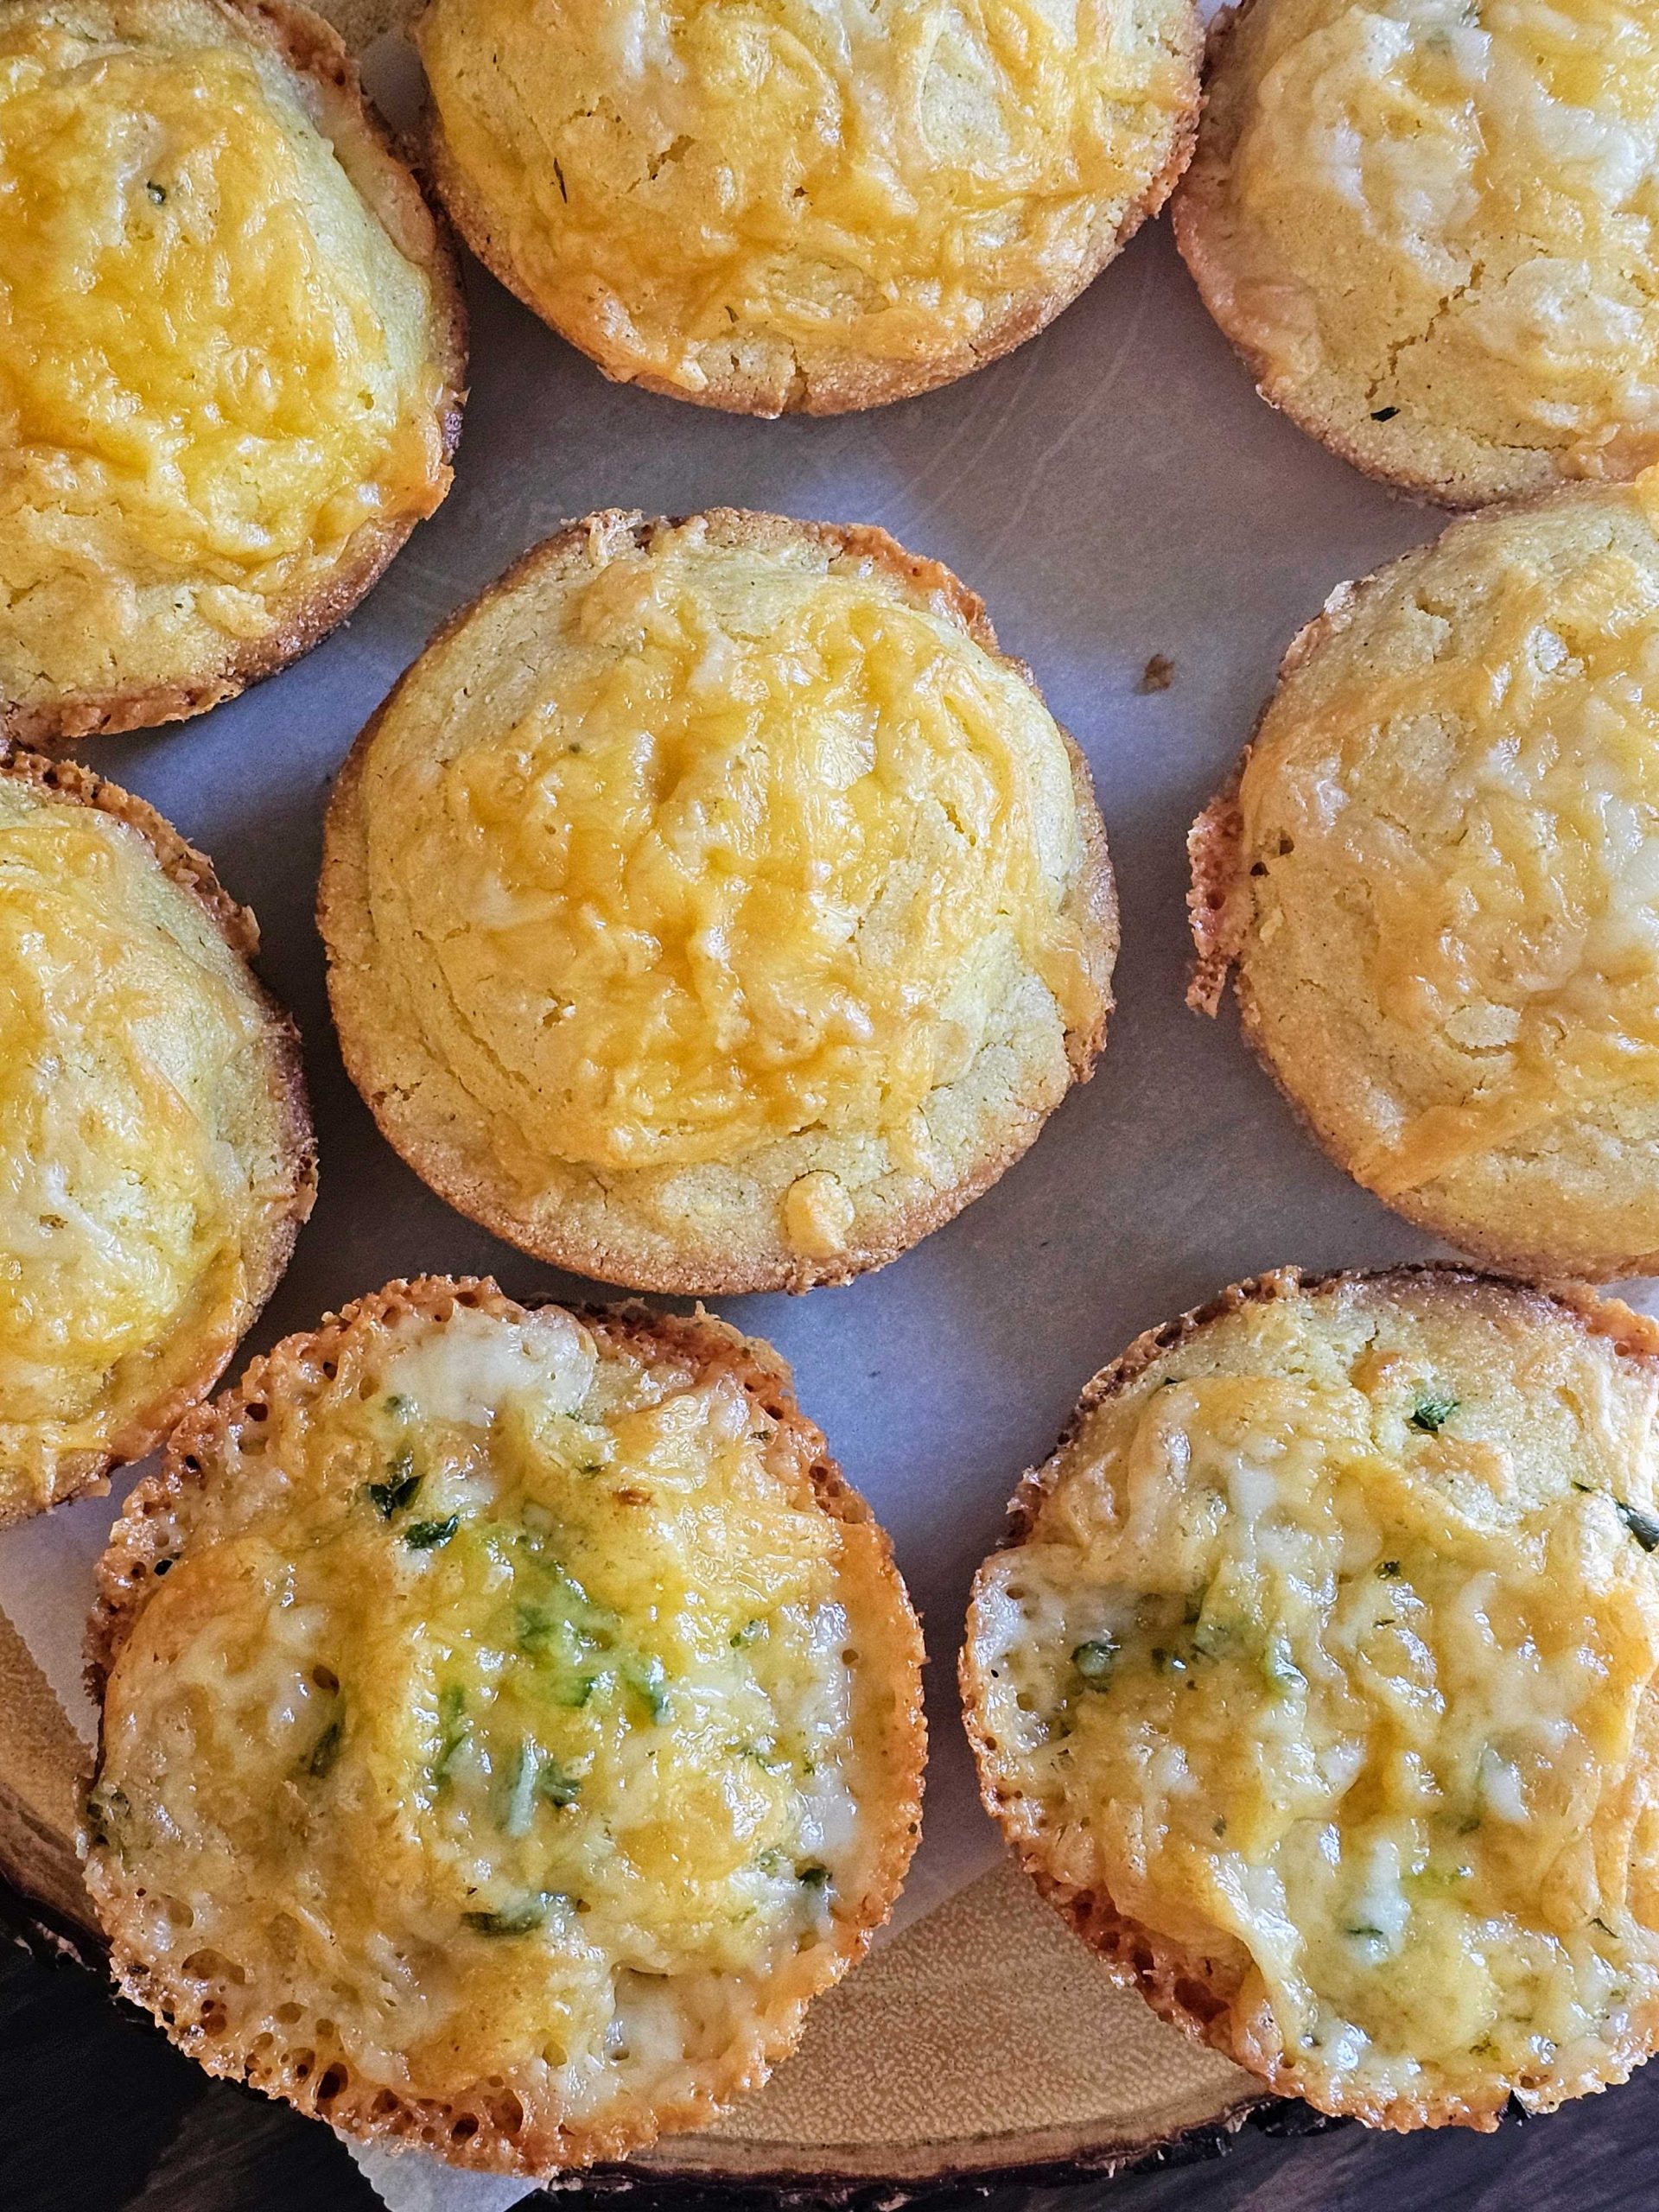
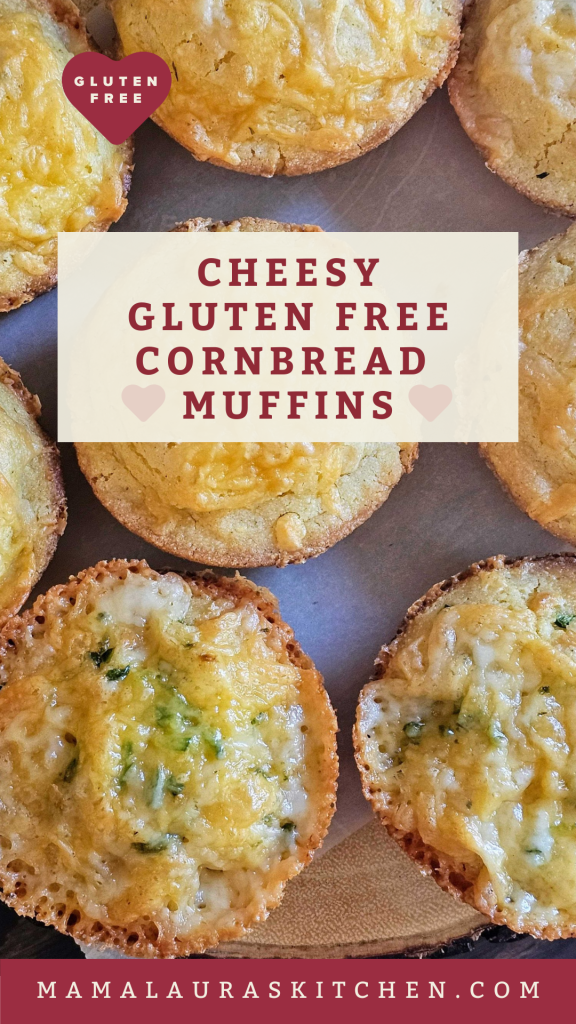
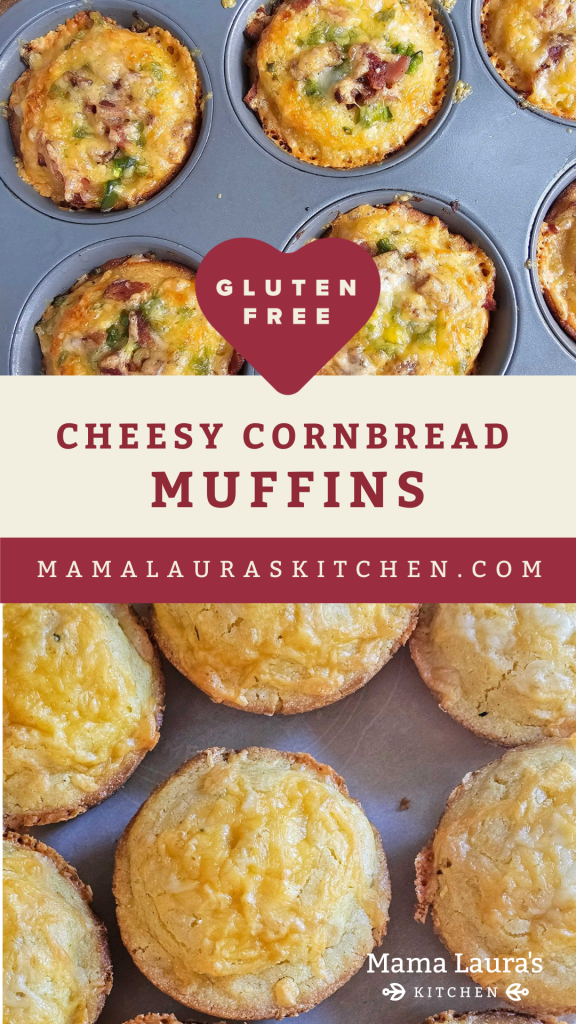
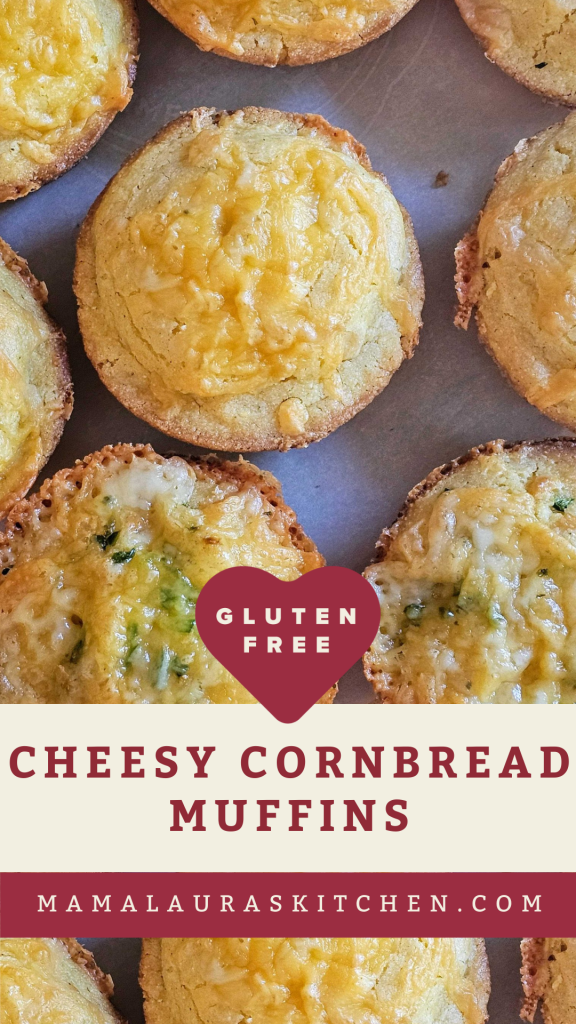
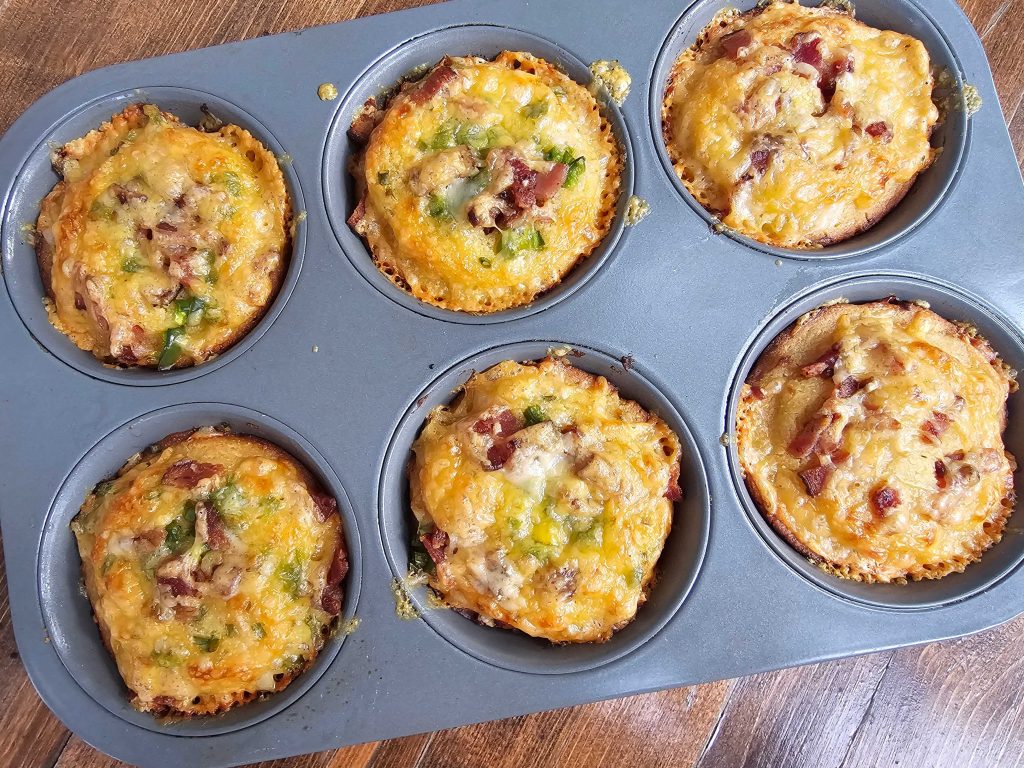
Cheesy and Gluten Free Cornbread Muffins are the perfect compliment to your lunch or dinner. Why not even eat these for breakfast!
They’re so good, especially when the cheese gets crispy on the edges and top! 😘.
You can add chopped jalapeño, chives, and even crispy bacon to these. Then, after removing from the oven, slather with butter and enjoy!
Cornbread muffins with extra flavor
These muffins have a fair amount of cheese, which you could omit, but honestly the cheese is so good in them. You could add the chopped jalapeño to just some of the muffins, and add bacon and chives to the others. Or put all these toppings plus the cheddar on each muffin.
Stirring the extra ingredients into the batter with the cheese is another option.
Even if you omit the cheese in the inside of these, I would recommend adding the cheese to the top. The baked cheese is probably my favorite part of this muffin!
Using a sharp cheese or cheeses will make these have such great flavor. We love Tillamook Sharp or Extra Sharp Cheddar or Kerrygold Dubliner Cheese. But they are pretty with some orange cheese.
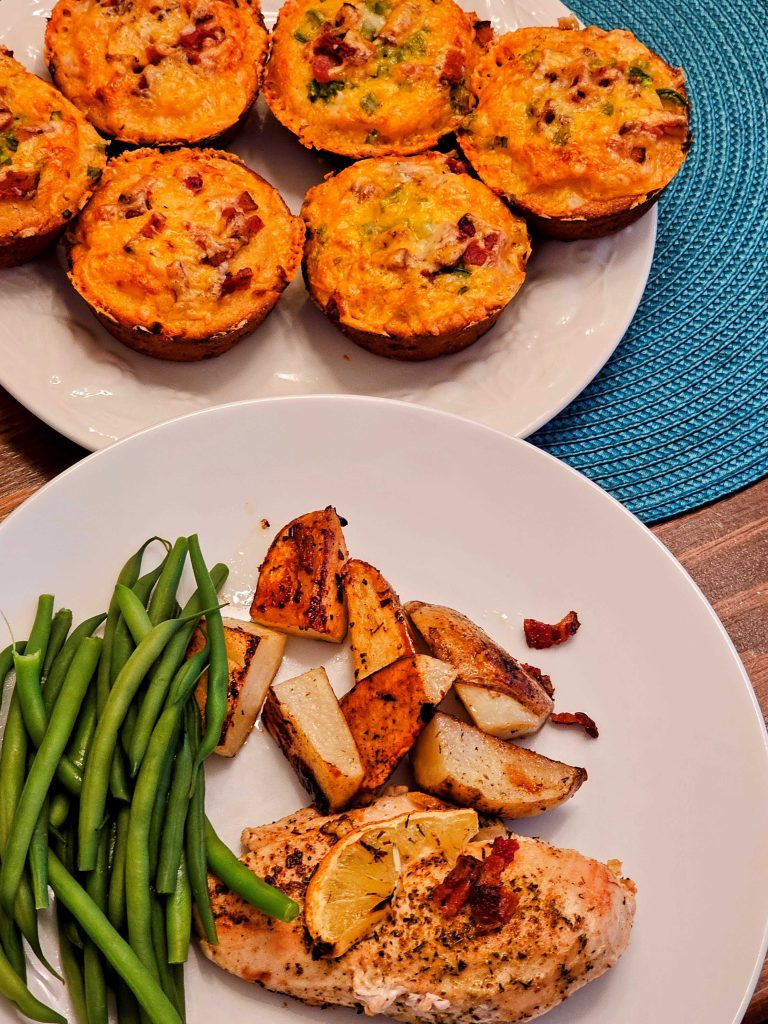
What to serve these with?
Chili is at the top of my list of foods to pair these with! However, lots of soups would go well with these. For a yummy chili recipe, check out Carlos’ Chili made with Ground Turkey and Beef (Gluten Free with an Instant Pot Option). Yep, it also has an Instapot version, if you are short on time!
These Cheesy and Gluten Free Cornbread Muffins would be delicious with a beef stew or a chicken soup also. We had them the other night with chicken and potatoes and the meal seemed a bit heavy (although still delicious).
What type of cornmeal?
The Safeway Organics Organic Cornmeal is organic and t’s also labeled gluten free. That makes it a great choice for me. Reasonably priced at $3.99 for 24 oz., too. I also love to use this for making polenta, since polenta is often hard to find labeled gluten free.
You could also use Bob’s Red Mill Gluten Free Medium Grind Cornmeal. I love all their products, but this one seems to be more difficult to find in stores closest to me.
If you don’t need gluten free, the possibilities are endless! Look for a medium or medium/fine grind.
Need to reheat these, no problem!
These Cheesy and Gluten Free Cornbread Muffins reheat perfectly. They may get a little more golden on the tops but you can reheat them in the oven or convection or toaster oven at 350 degrees to keep them from browning too much.
Just store at room temperature in an airtight container for up to 2 days for best freshness. Or store in an airtight container in the refrigerator or freezer, if you wish to have them around for longer.
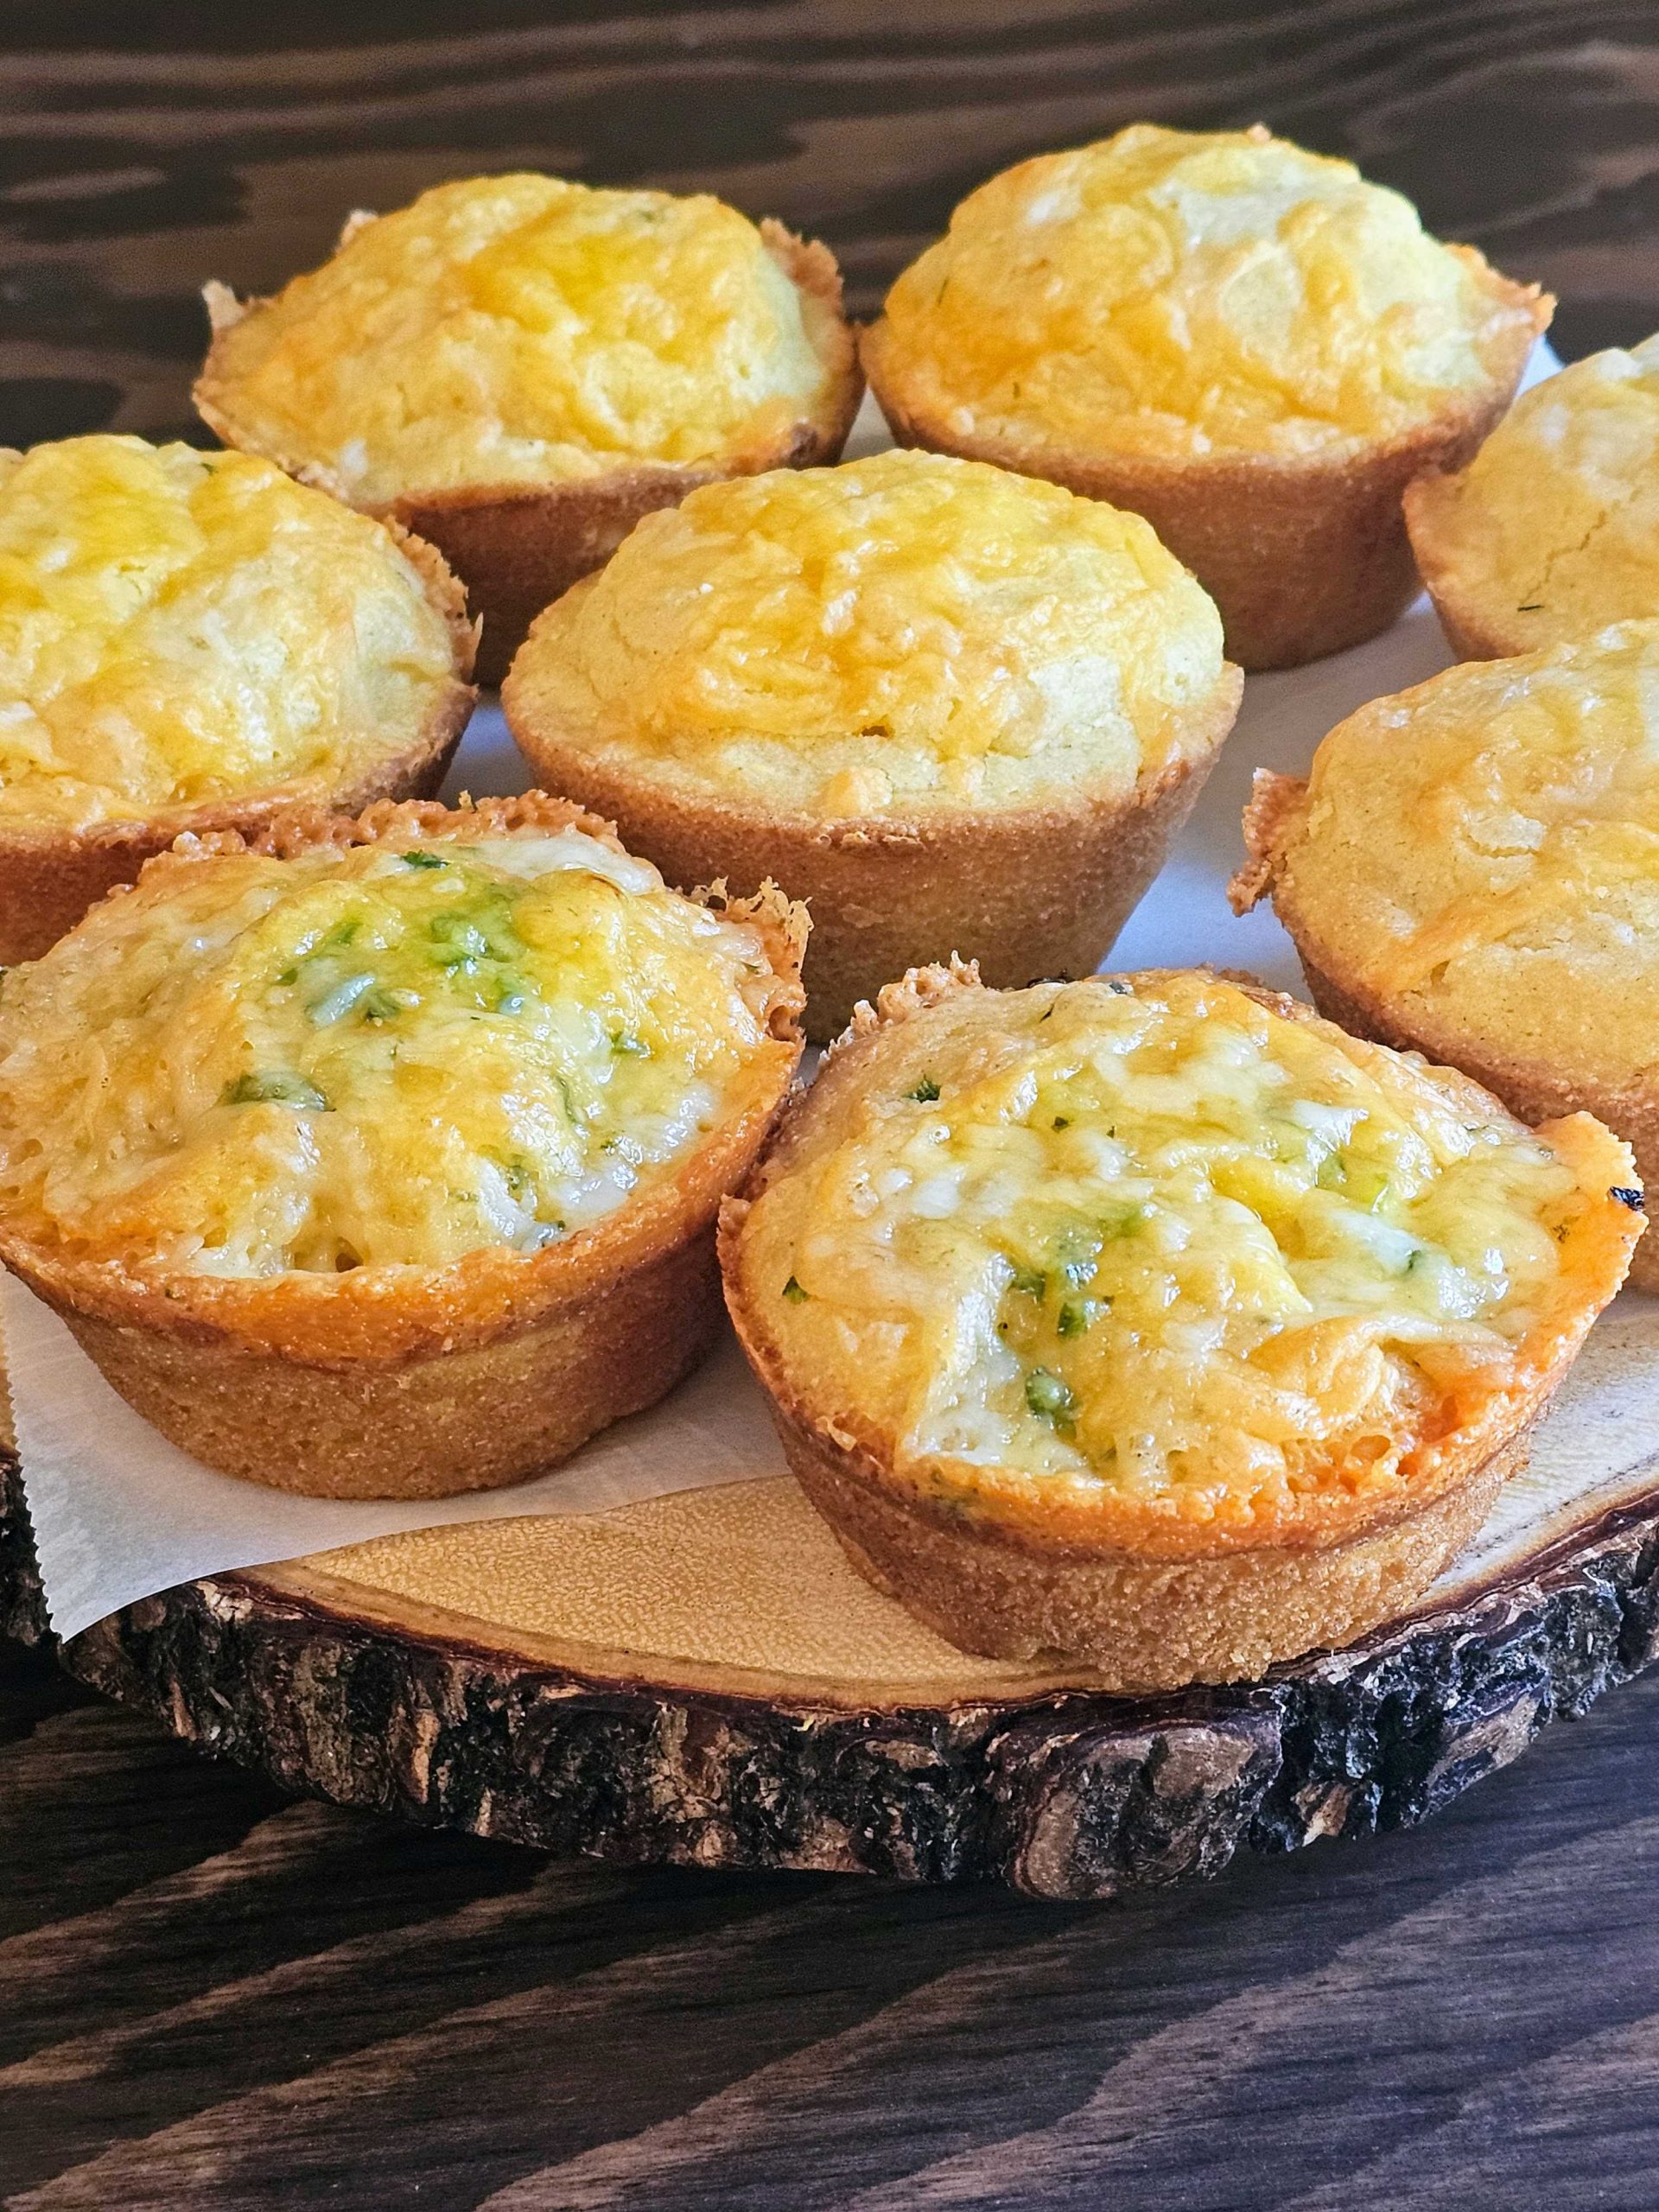
Cheesy and Gluten Free Cornbread Muffins
Equipment
- 2 6 hole muffin tins or 2, 12 hole or bake in two batches, cleaning the tins in between bakes
Ingredients
- 1 cup plus 1 tbsp Safeway Organics Cornmeal, gf or other gf cornmeal
- 1 cup minus 1 tbsp Bob's Red Mill Gluten Free 1 to 1 Baking Flour
- 1 tbsp baking powder, gf
- ¼ teaspoon salt
- 7 tbsp sugar or 3 1/2 tbsp of sugar plus 3 1/2 tbsp of honey
- 1 cup whole milk, or milk of your choice
- ⅓ cup plus 2 tbsp vegetable oil or melted butter or melted vegan butter substitute, gf
- 2 tbsp mayonnaise or plain Greek yogurt
- 1 large egg
- ½ cup grated Tillamook Sharp Cheddar
- ½ cup grated white cheddar or Dubliner
- 1-2 jalapeños, membrane and seeds removed and diced optional
- ⅛ cup minced chives
- 2 slices bacon, cooked crisp and chopped optional
- ⅝ cup grated Tillamook Sharp Cheddar add after baking 5 minutes
Instructions
- Preheat oven to 400℉. Grease the muffin tins (6 or 12 hole size) well, with oil spray or oil.
- Mix the dry ingredients together. Add the wet ingredients and stir until combined. Stir in the ½ cup of cheddar and ½ cup white cheddar.
- Spoon into muffin tins, 2/3'rds full. Bake at 400° for 5 minutes.
- Remove and add the optional jalapenos, chives, and bacon to the tops. Cover the tops with the remaining cheese.
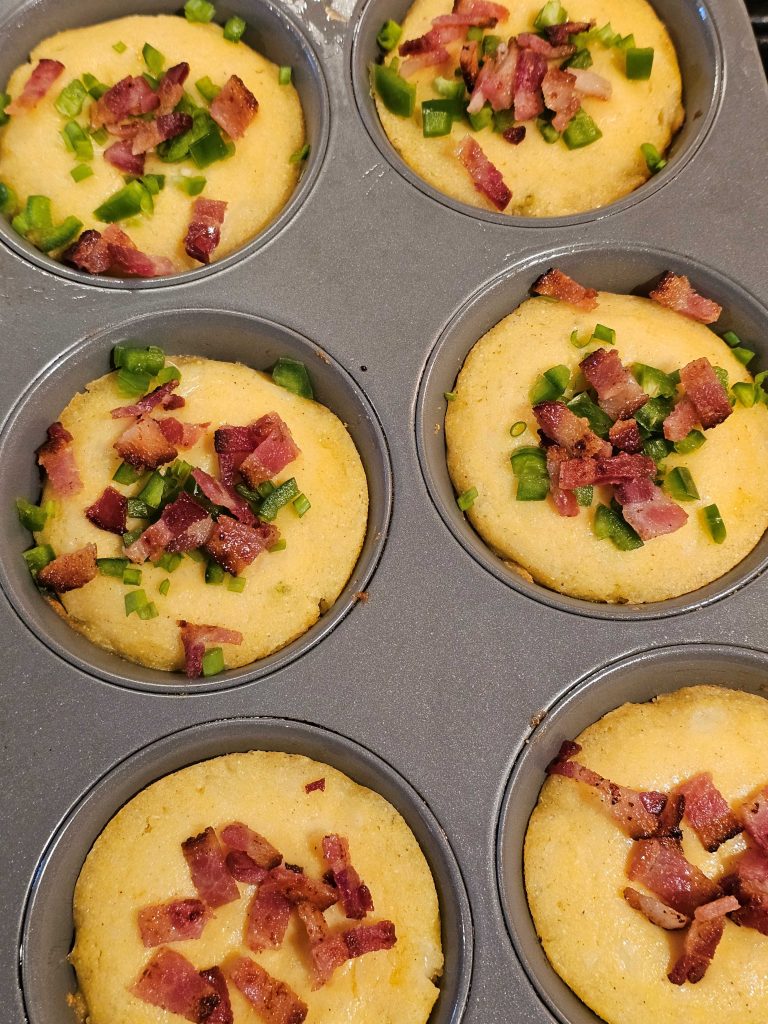
- Finish baking for 8-13 minutes more (depending on muffin size). Then, remove from the oven. Slice in half and add butter to serve.
Psst…We’re on Pinterest! Check out our Mama Laura’s Kitchen Pinterest and pin your favorite recipes!
