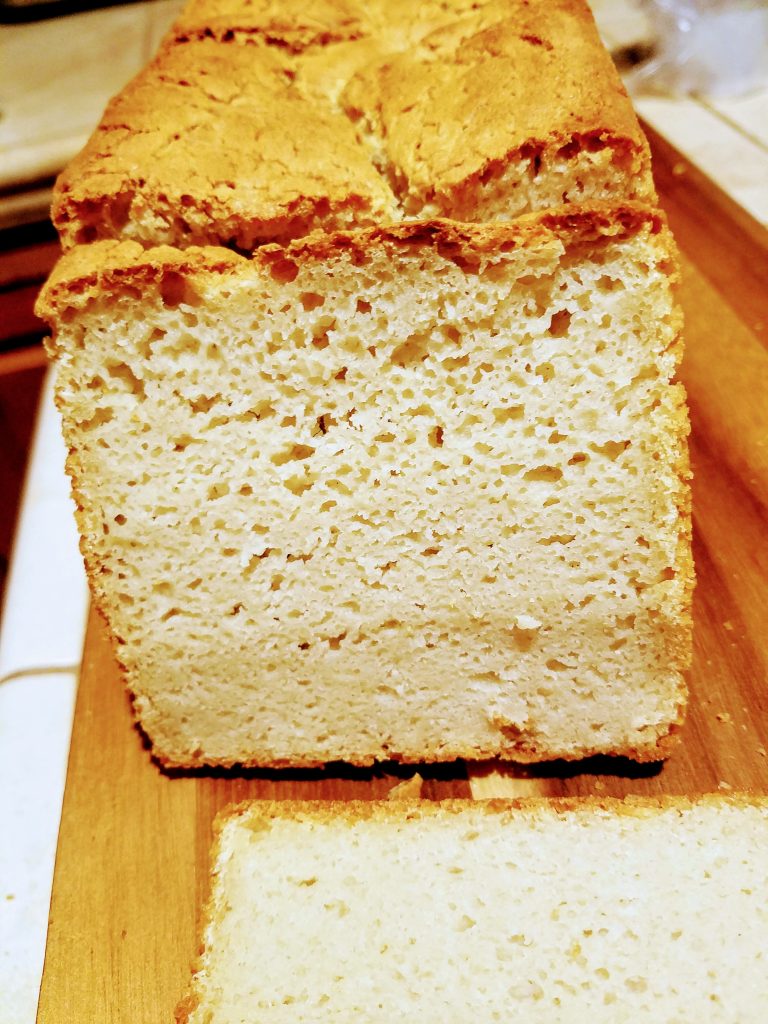
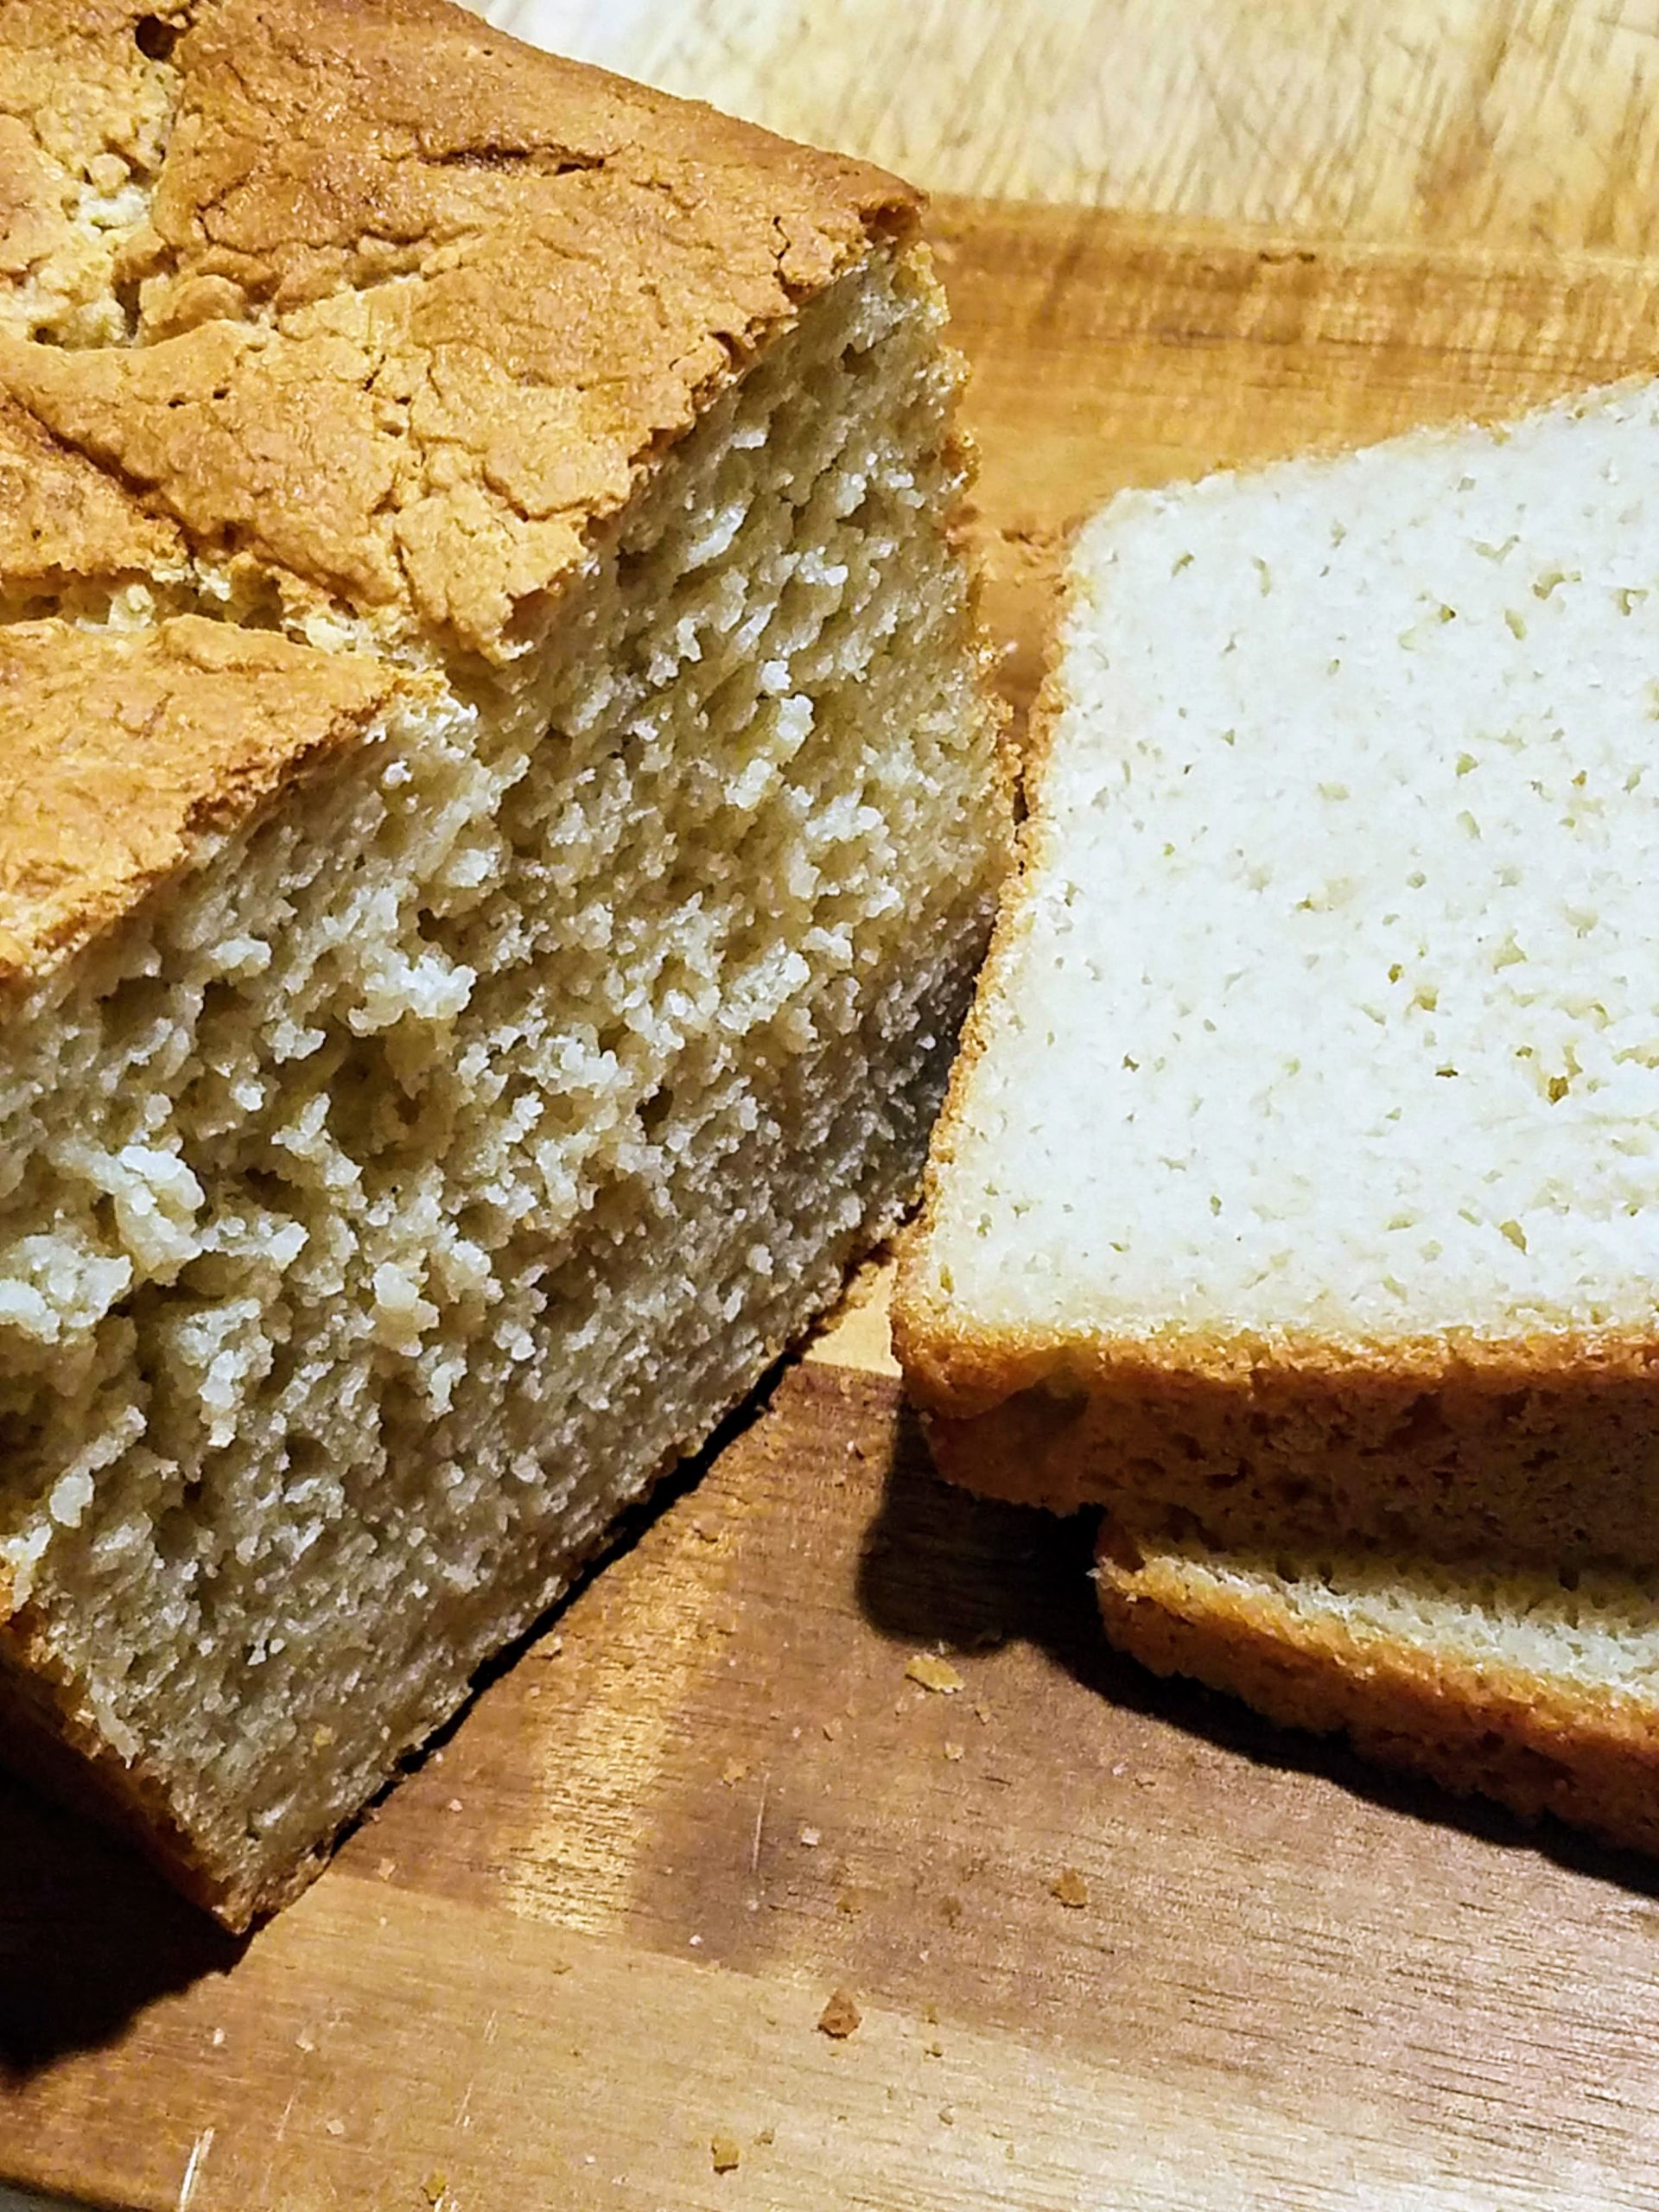
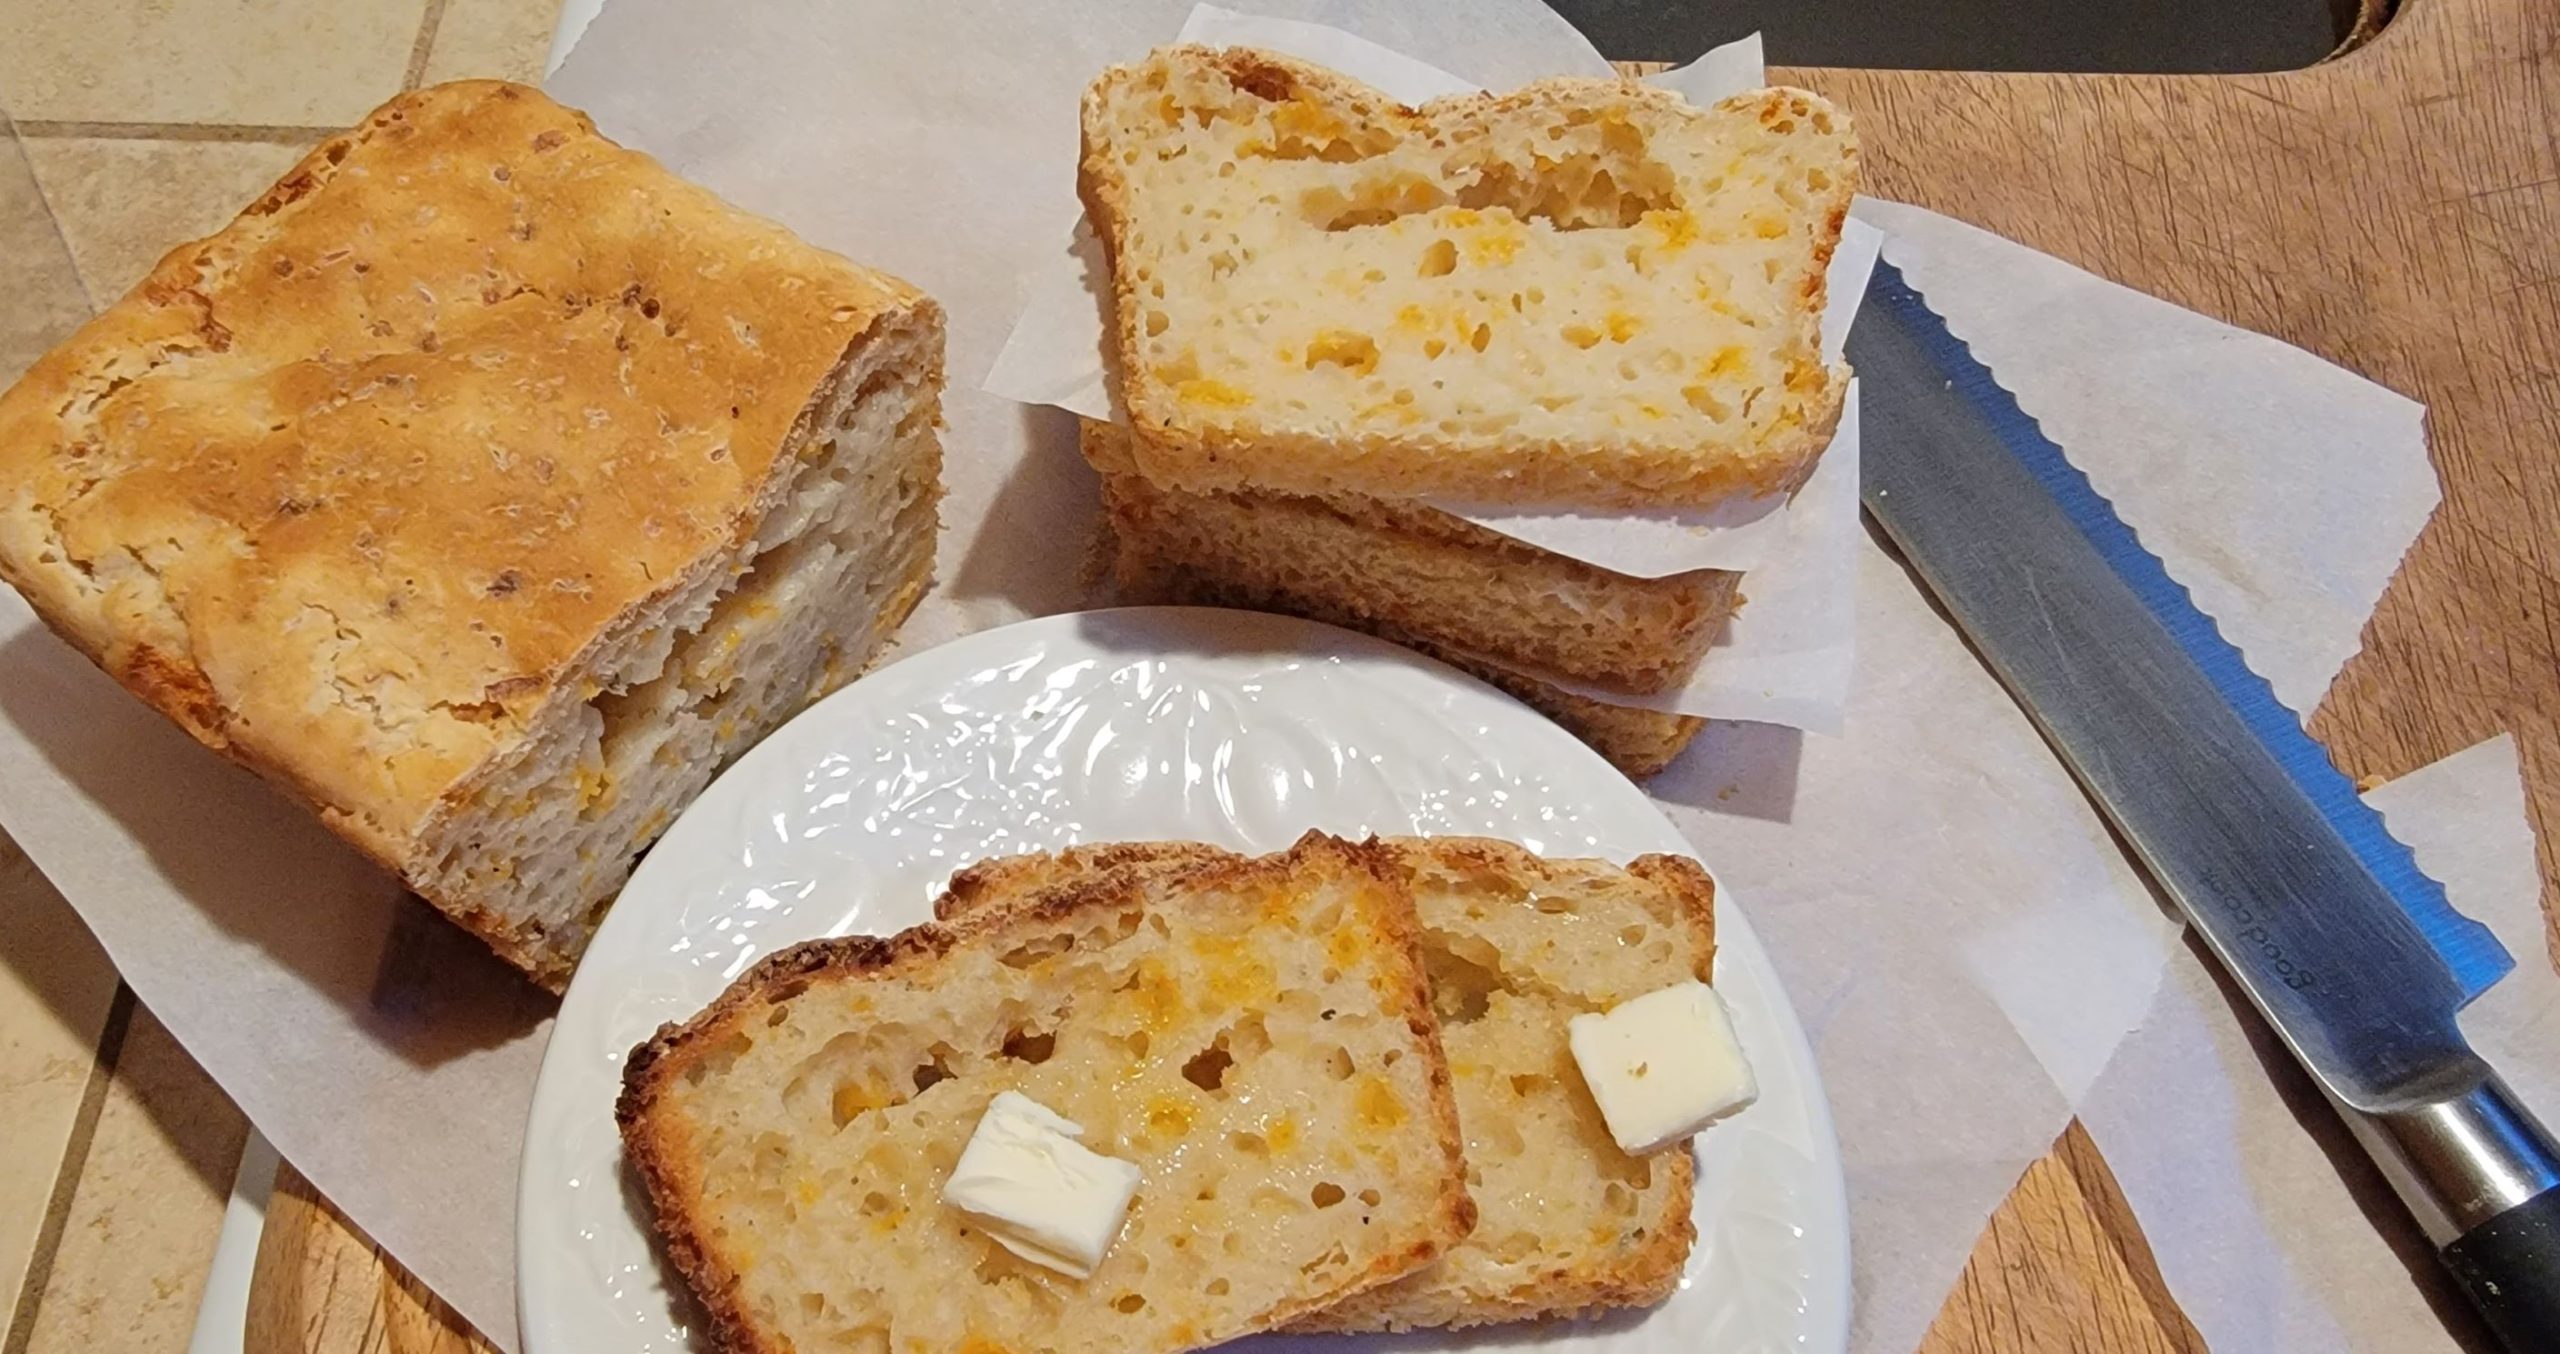
The best smell in the whole world is baking bread! Gluten free bread is a bit more work, but it’s definitely worth the wait and the effort. I’m always trying to get a lighter while still great tasting gluten free sourdough bread loaf. This one has a little yeast to help the rising process along (okay, can we just say this is way more difficult than bread rising with glutinous dough!). This recipe only has Ryze Gluten Free Multi Purpose Flour Mix (which is just rice flour), tapioca, gluten free sourdough starter, yeast, honey or sugar, egg white, olive oil, and salt. The bread slice is nice and airy (although the entire loaf still feels a bit heavy). This is perfect for toast, smothered with plenty of butter! Let me know what you think if you try it, please.
~Laura
Gluten Free Sourdough Loaf
Ingredients
- 1 cup gluten free 100% hydration, fed sourdough starter
- 1 1/2 cups water
- 1 1/2 cups Ryze Gluten Free Multi Purpose Flour Mix
- 2 Tablespoons honey, cane sugar or granulated sugar
- 1 cup tapioca starch (also known as tapioca flour), gluten free
- 1/2 cup Ryze flour or 1 for 1 gluten free flour blend
- 2 teaspoons salt
- 2 1/4 teaspoons (1 packet) Fleishman's Rapid Rise Instant Yeast, gluten free
Instructions
- Stir together in a large bowl and let sit covered with a towel overnight (or 6- 8 hours) at room temperature: 1 cup sourdough starter, 1 1/2 cups water, 1 1/2 cups Ryze Flour Mix and 2 Tablespoons honey.
- The next morning (or 6 – 8 hours later) add in to the bowl: 1 cup tapioca starch, 1/2 cup Ryze flour, salt, and Instant Yeast.
- Stir for a good minute to fully combine. Cover with cellophane and refrigerate for 4-5 hours or until dough has risen to about 1 1/2 times and is puffy and bubbly.
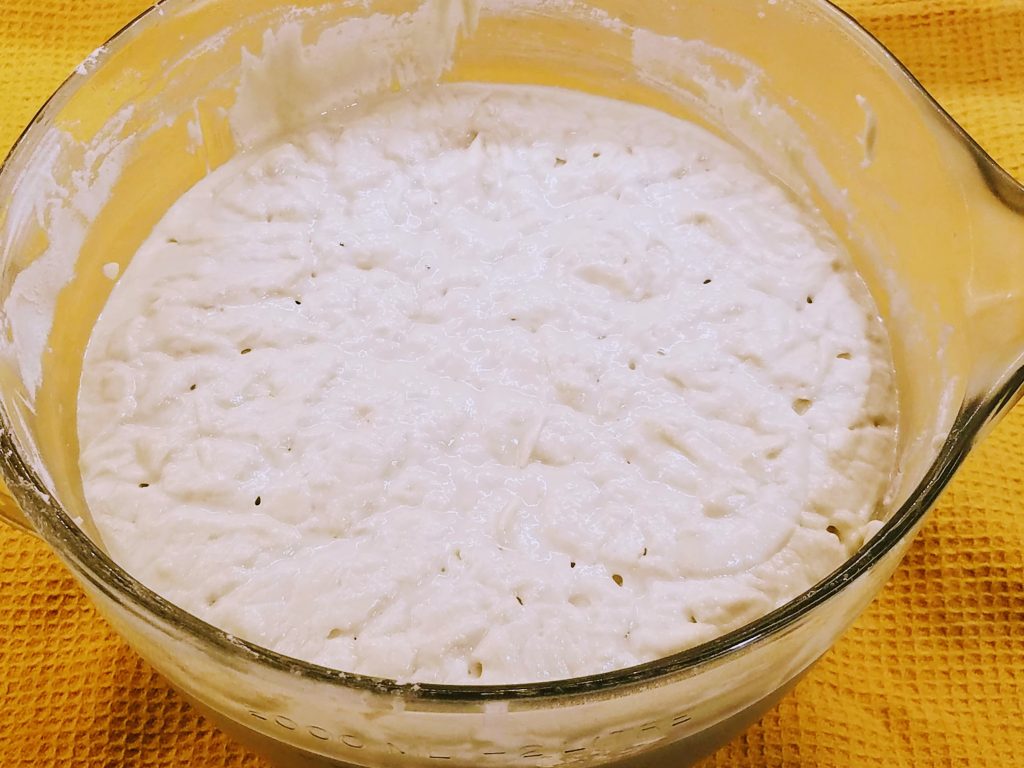
- Add in 1 cup of flour, stirring well. Add 1 egg white and mix in completely. Add 1/4 to 1/2 more of Ryze flour mix or your choice of 1 to 1 gluten free blend.
- Oil and flour a large, extra deep loaf pan, 9” x 4” x 4”. If you don't have the larger deeper pan you could use 2 smaller loaf pans, 8 x 4 x 2.75. The bread is a very nice size for toasts and sandwiches when made in the deeper pan.
- Spread the batter into the prepared pan or pans. Smooth with a rubber spatula dipped in water or smooth with your fingers dipped in a little water. Cover with a towel and let rise in a warm place or in your oven on bread proof until very close to the top of the pan (within a half inch or so). It should take about 2 – 2 1/2 hours approximately.
- Preheat the oven to 450 degrees Fahrenheit with rack in the center of the oven. Place a oven safe glass dish or Pyrex dish three quarters full of water on a lower rack.
- Cut slits or decoration on the top of the loaf, about 3/8 inch into the bread top.
- Makes an egg wash of one teaspoon of egg white mixed with 1 teaspoon water. Brush the top of the loaf gently with egg wash.
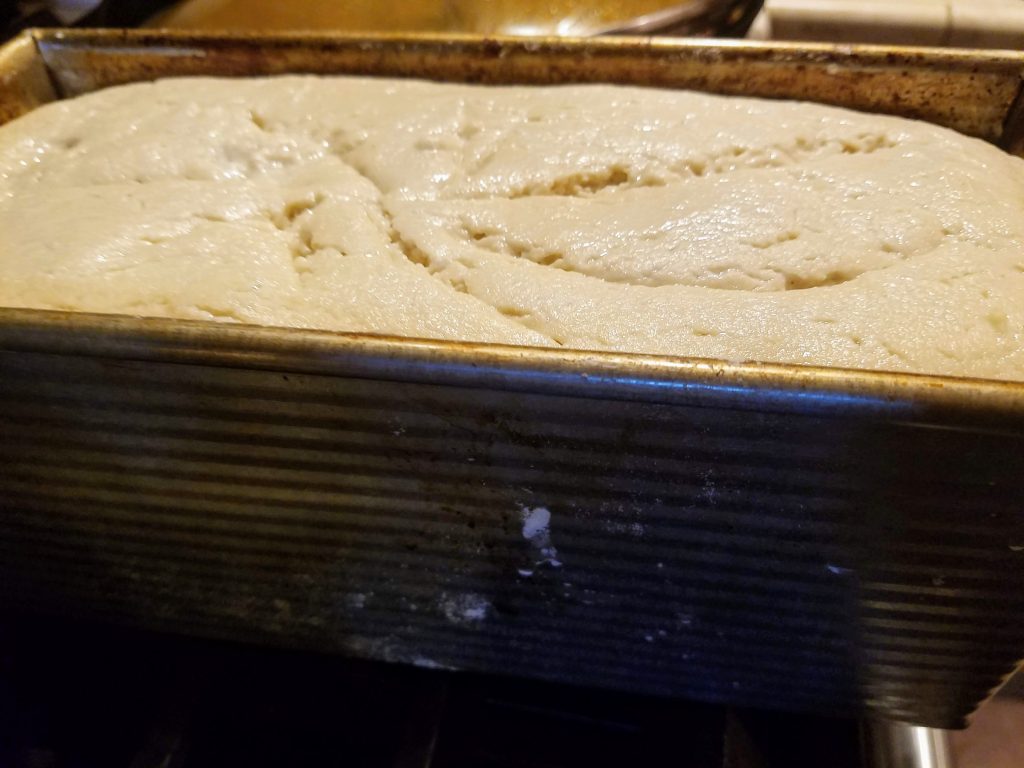
- Bake for 40 minutes. Check the bread to make sure it's not browning too much. If it is, cover loosely with a piece of foil. If baking a smaller loaf, check the internal temperature.
- Continue baking for 8 to 10 minutes. Check the internal temperature every few minutes and remove when temperature reaches 207 degrees.
- Place the loaf pan on a wire rack to cool for 30 minutes. Turn the bread out of the pan unto the wire rack and continue to cool for 1 1/2 to 2 more hours before slicing. Store the bread in a sealed Ziploc bag. The day after baking, store in the refrigerator, or slice the put small parchment pieces in between the slices and freeze in a Ziploc.
