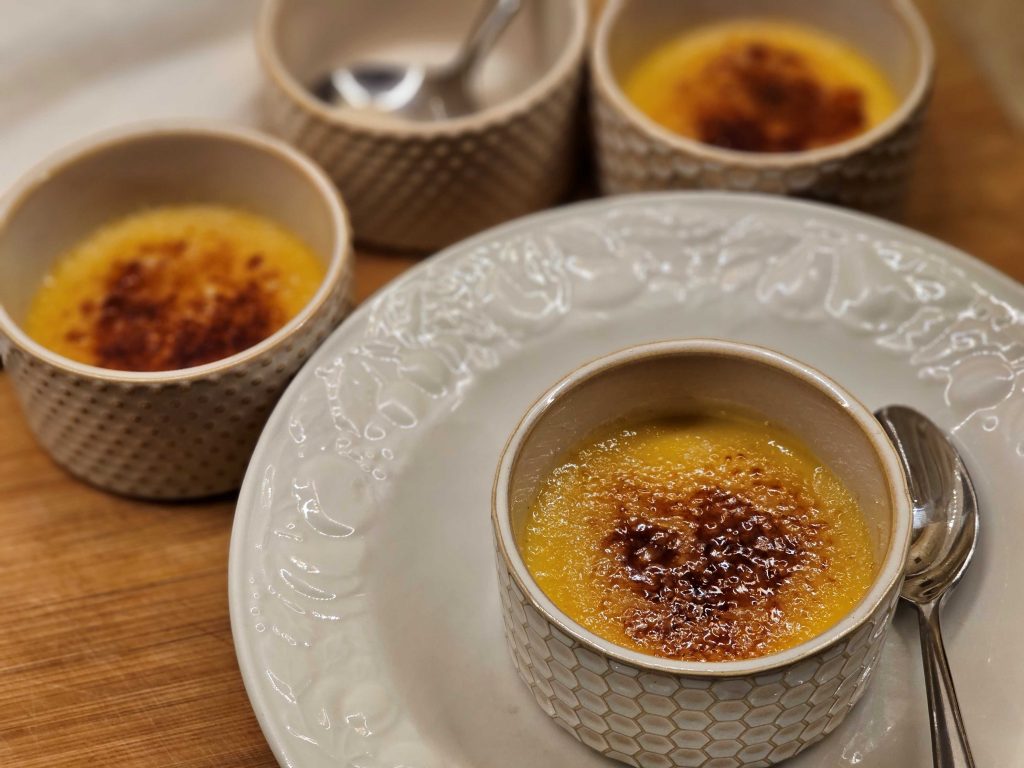
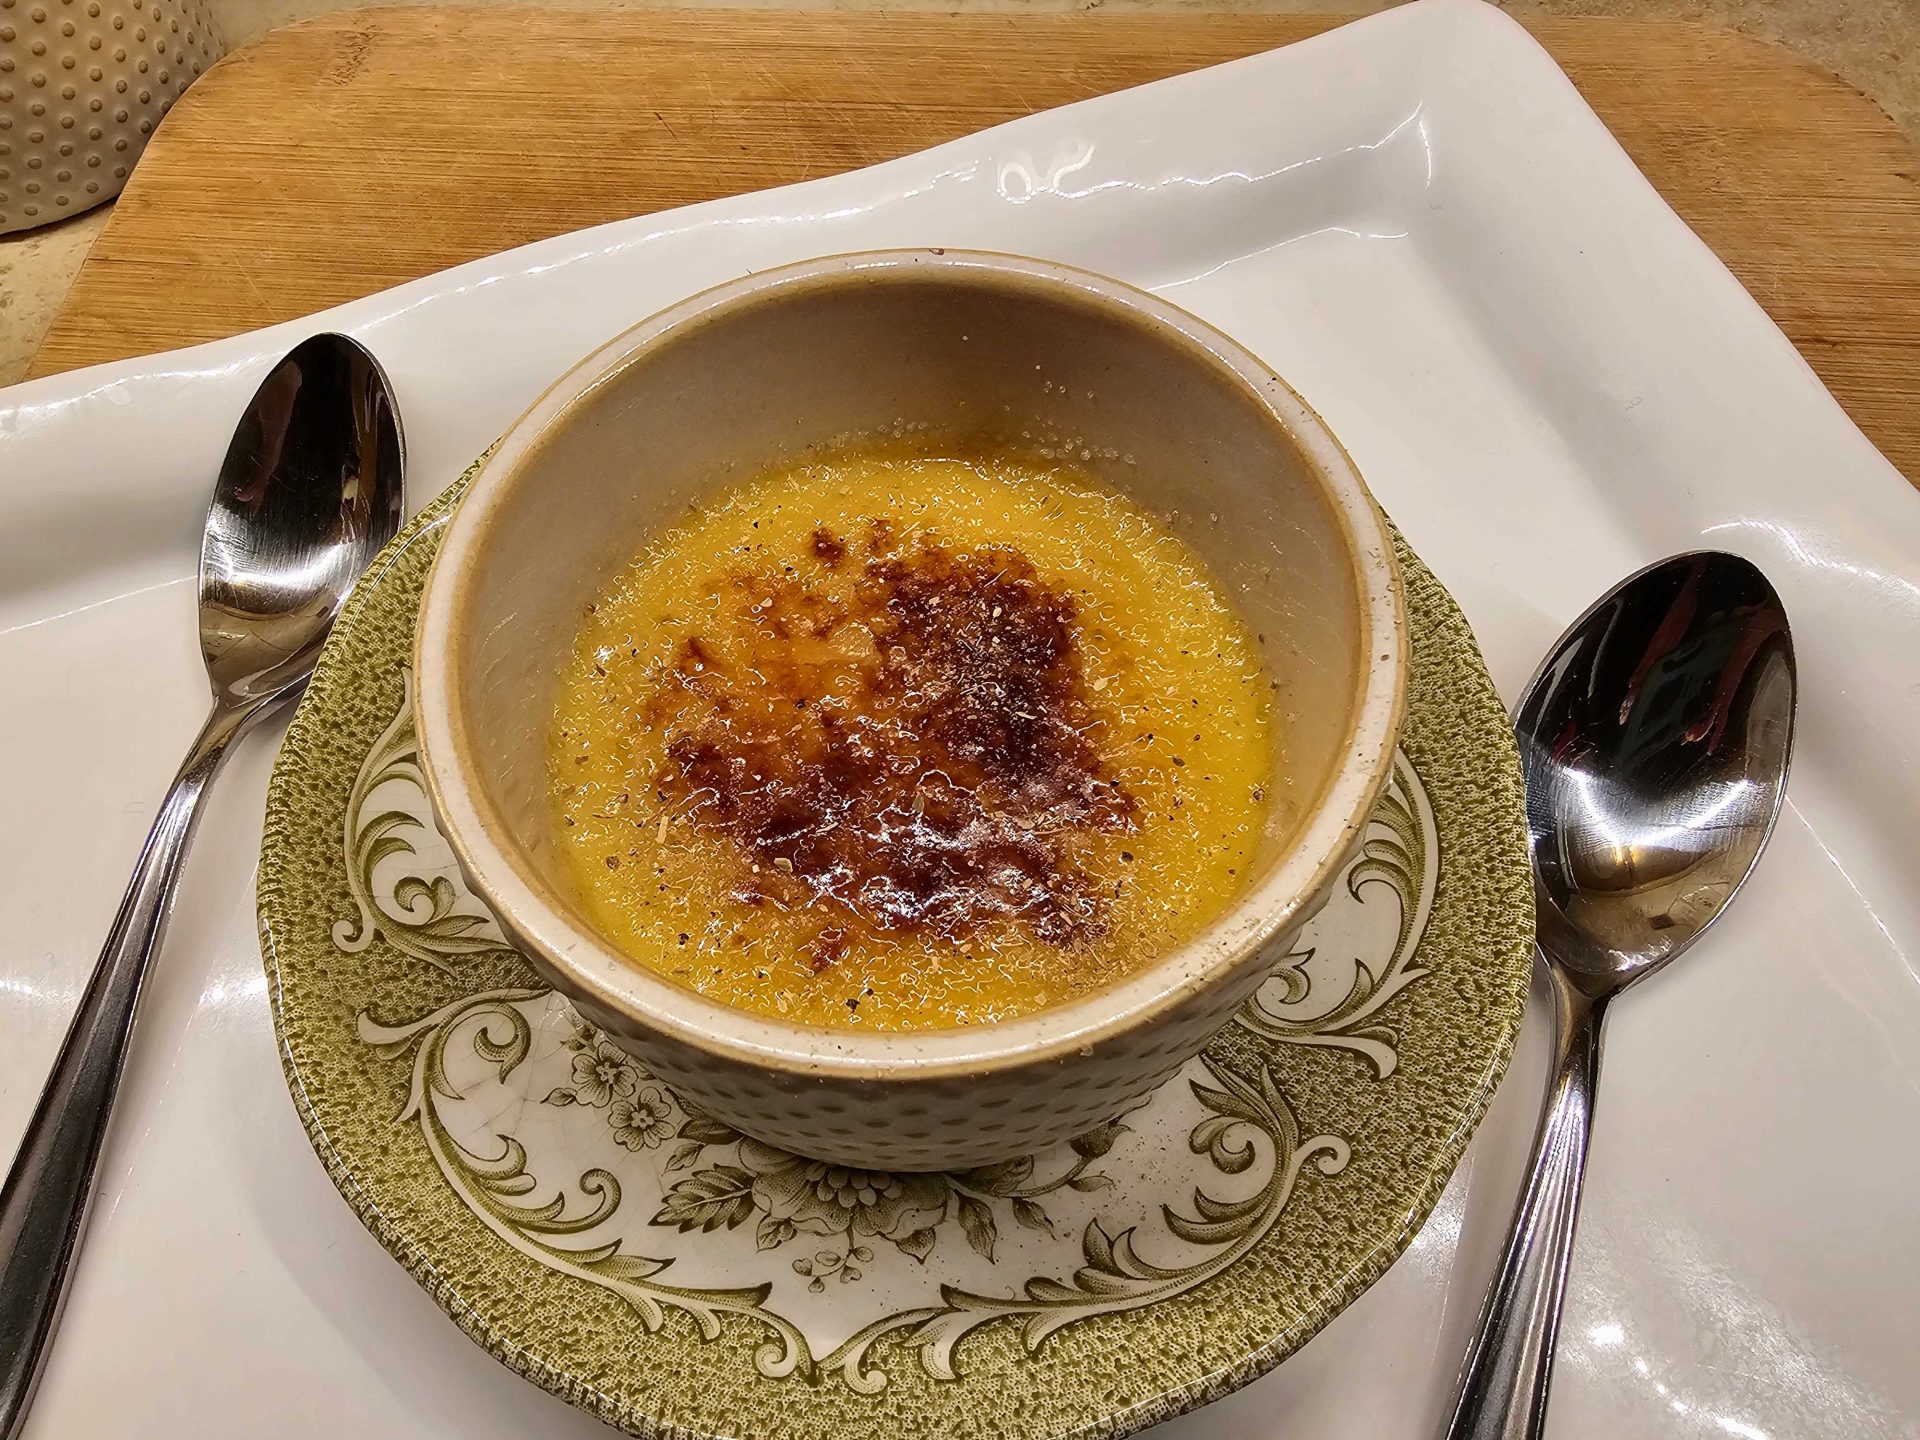
Do you love something sweet after dinner? I particularly love creamy desserts, like creme brulee (crème brûlée)! It’s a super satisfying dessert, with a fair amount of crunchy sugar on top of a very smooth and creamy chilled custard. You can even just share one of these desserts and it will satisfy that craving. It’s also so wonderful with a cup of coffee.
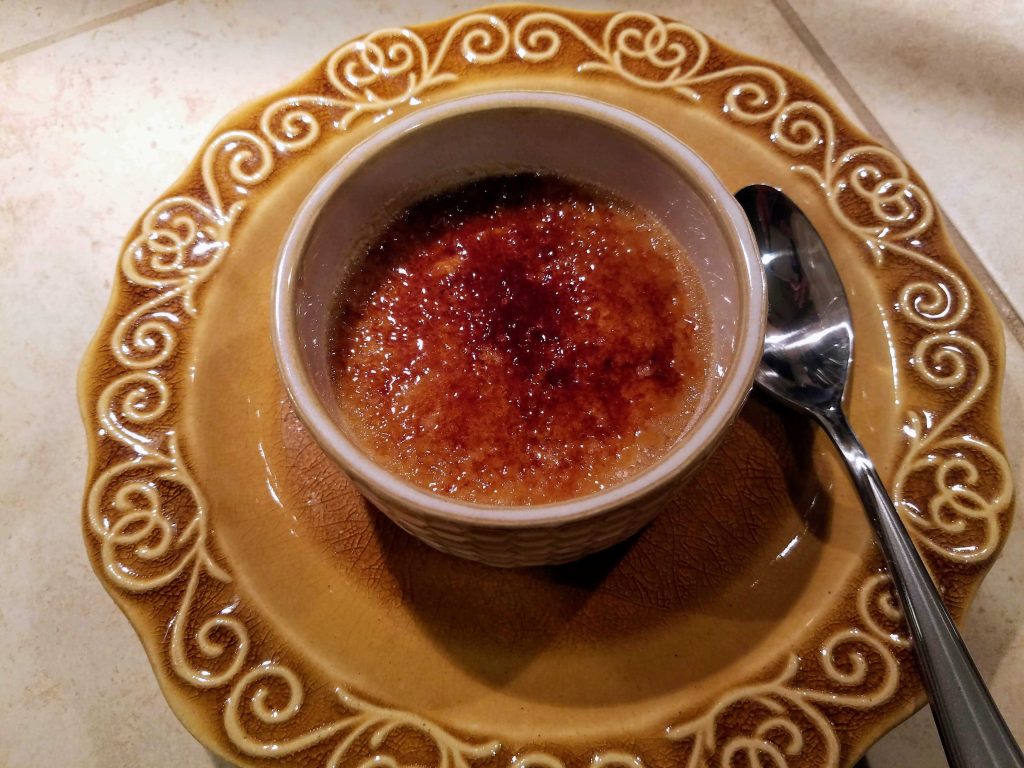
Crème brûlée when in a restaurant
Crème brûlée or creme brulee is often my restaurant dessert choice, because most often it is gluten free. It’s often one of the only desserts that may be recommended for a gluten sensitivy or celiac diet. As long as it’s on the menu, my dessert choice is made!
Ask your server if the crème brûlée is gluten free, if it’s not labeled as such. It might contain flavorings or toppings that aren’t gluten free.
Crème brûlée at home
These are a great dessert to make at home, for many reasons. They are so delicious that none of your guests will expect that you made them for your gluten free guests.
They also can be made up to the point of chilling, two days in advance and refrigerated in a sealed container.
Then, when ready to serve, just sprinkle fine sugar on top. Heat the torch and holding the flame 1-2″ from the custard, move the torch back and forth a bit to brown the sugar. Let it cool and harden. Then serve! They really are pretty easy to make.
Making substitutions for the dairy
While the crème brûlée can be made dairy free by substituting coconut milk or cream or a almond milk creamer, I haven’t found a great substitute to make this dessert egg free, although aquafaba, the liquid from cooked chick peas probably would work. I just haven’t tried this replacement yet. I would expect the brulee wouldn’t be as creamy.
Aquafaba can be used in place of eggs for meringues and thickeners. For more on aquafaba, check out King Arthur Baking Company, A Guide to Aquafaba.
Cardamom Orange Flavors
I am in love with these mediterranean flavors in this dessert! They are some what subtle, but definitely are evident, as well. I feel like we should have this with a Turkish coffee maybe. Just a cup of coffee will pair wonderfully too, or even a cup of strong tea.
Serve them with a bit of whipped cream on the side or a few candied oranges, or possibly scattered with a few chopped pistachios. However you serve them, I hope you and your guests will love this new sophisicated brûlée!
Bon Appetit!
~ Laura
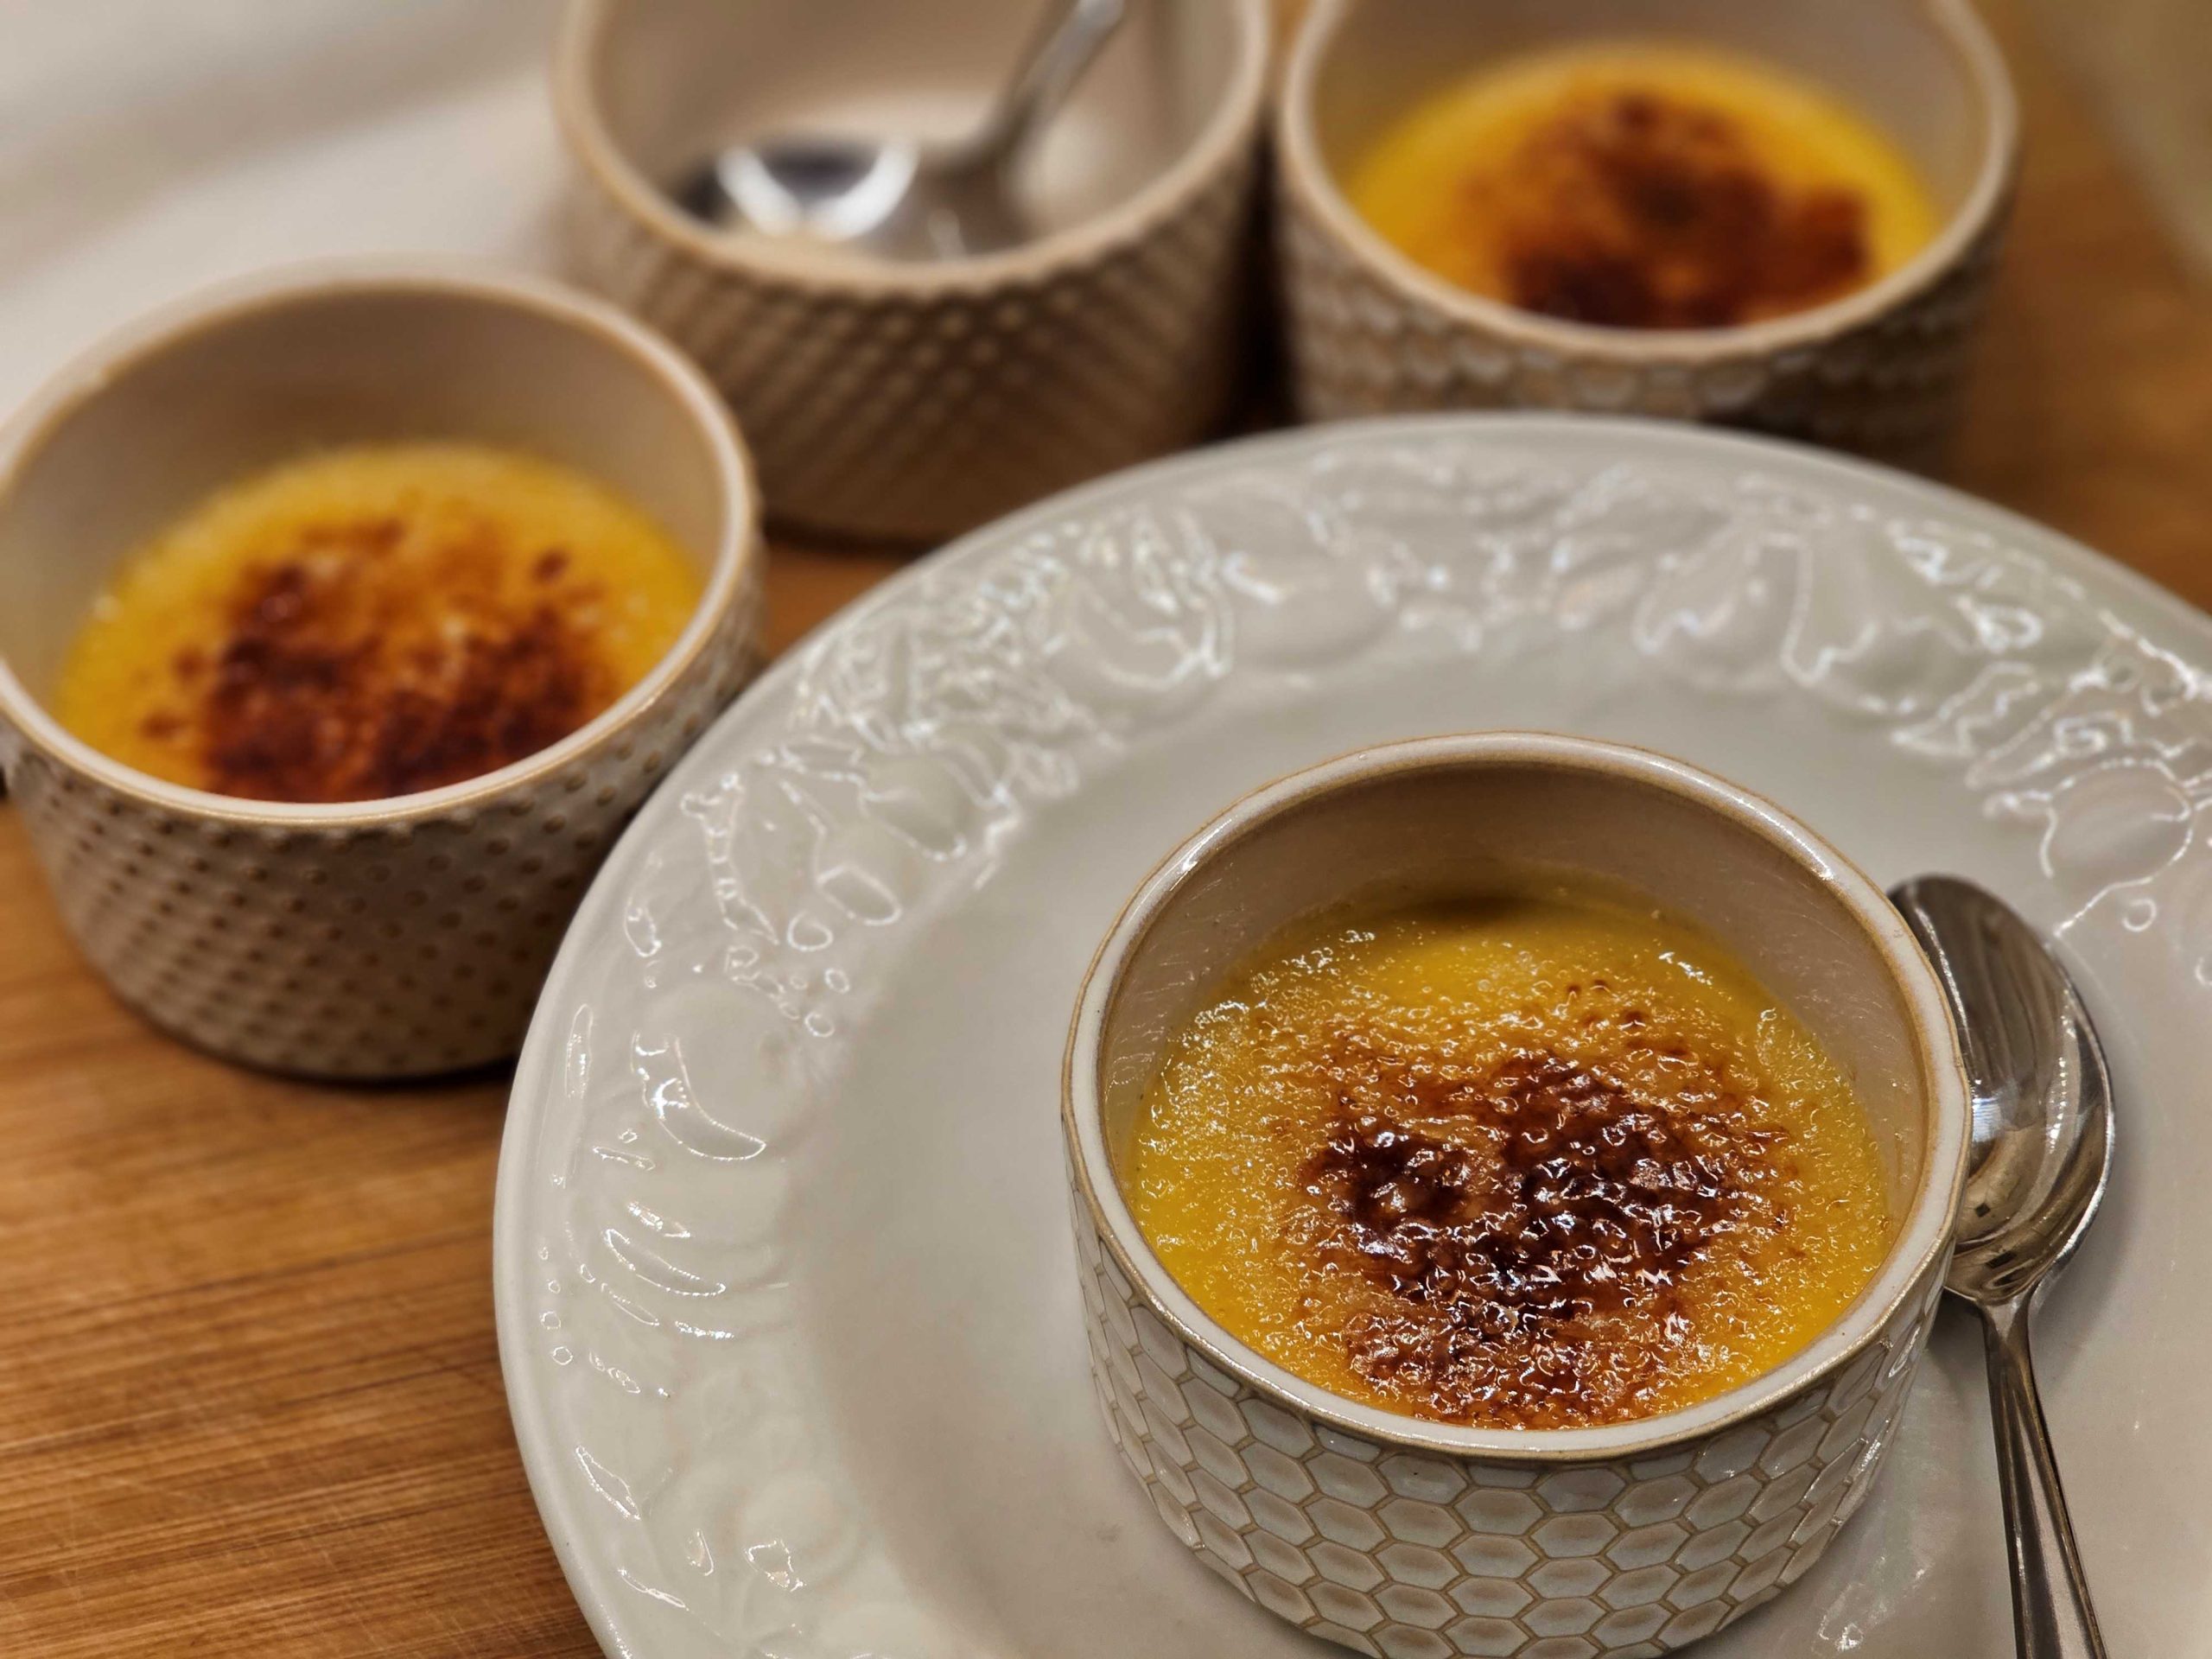
Cardamom Orange Crème Brûlée (Gluten Free)
Equipment
- 1 13 x 9 "casserole dish or tray
Ingredients
- 6 large egg yolks
- ½ teaspoon fine salt
- ½ cup honey
- 1 tbsp brown sugar
- 1¾ cups heavy cream
- ½ cup whole milk
- ½ teaspoon Spicely Organics Ground Cardamom gf, or other gf cardamom
- 2 teaspoons orange zest
- 1 teaspoon Nielsen-Massey Vanilla or Vanilla Bean Paste or other gf vanilla
- 2 tbsp Cointreau liqueur gf, optional
- 2 ½-3 tbsp super fine sugar
Instructions
- Preheat the oven to 300℉. Boil water for the casserole dish. Set a tea towel at the bottom of the dish. Set the ramekins or crème brûlée dishes inside without touching each other.
- Whisk the egg yolks and the salt in a small bowl. Set aside.
- In a medium saucepan, add the honey, brown sugar, cream, milk, cardamom, orange zest, vanilla, and Cointreau. Stir over medium low heat. Once the honey is melted increase the temperature to medium high. Let the mixture heat until just starting to bubble on the sides of the pan. Do not boil.
- Turn the heat off. Add in a steady stream the cream mixture into the egg mixture bowl, whisking continually with your free hand. Strain the mixture through a sieve back into your saucepan or a bowl.
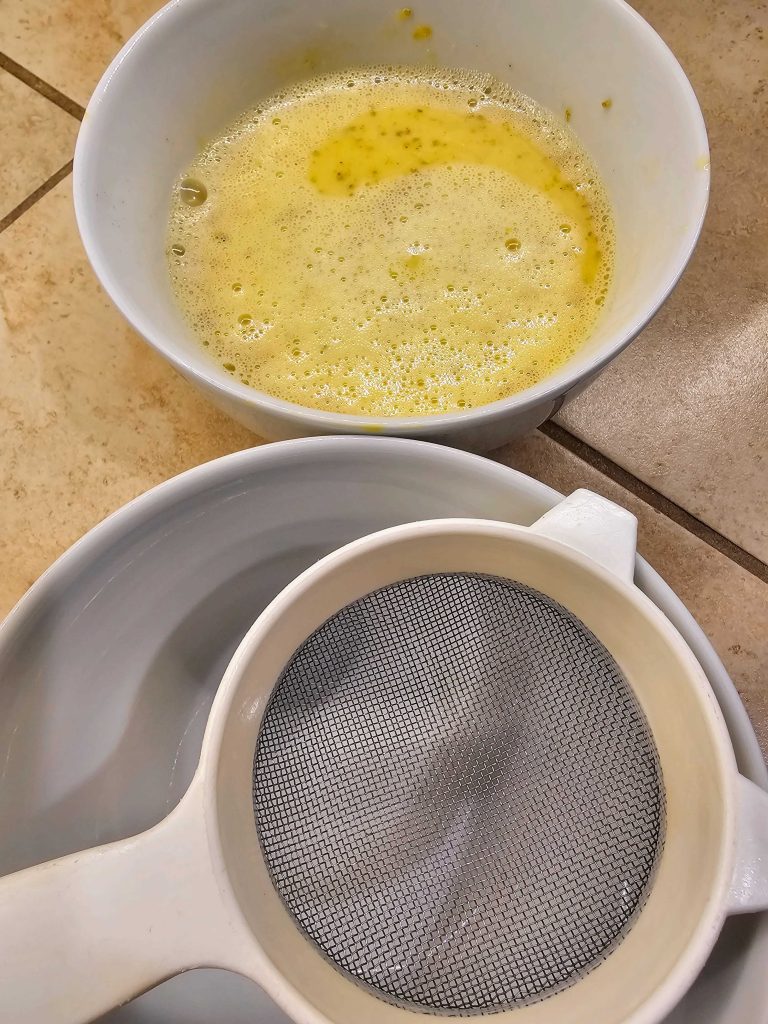
- Ladle cream mixture about 2/3 – 3/4 full, into the dishes set in your baking tray. Pour boiling water from the kettle around the ramekins, until the water is halfway up the dishes. Gently place into the oven.
- Bake for 32-40 minutes or until just set. They should have a tiny jiggle when the dish is moved. Ramekins will take longer than flatter crème brûlée dishes. Remove the baking pan from the oven, to a cooling rack.
- Cool on rack until just cool to touch. Cover with cellophane, or place in a large plastic container covered, for 2-3 hours minimum and up to 2 days.
- Remove from the refrigerator a few minutes before serving. Sprinkle each evenly with granulated sugar (about 1-1 ½ teaspoons for each). With a kitchen torch, brown the sugar holding the torch about 1 – 2 inches from the top of custard. Torch until evenly browned and caramelized and as quickly as possible to not heat the custard.
