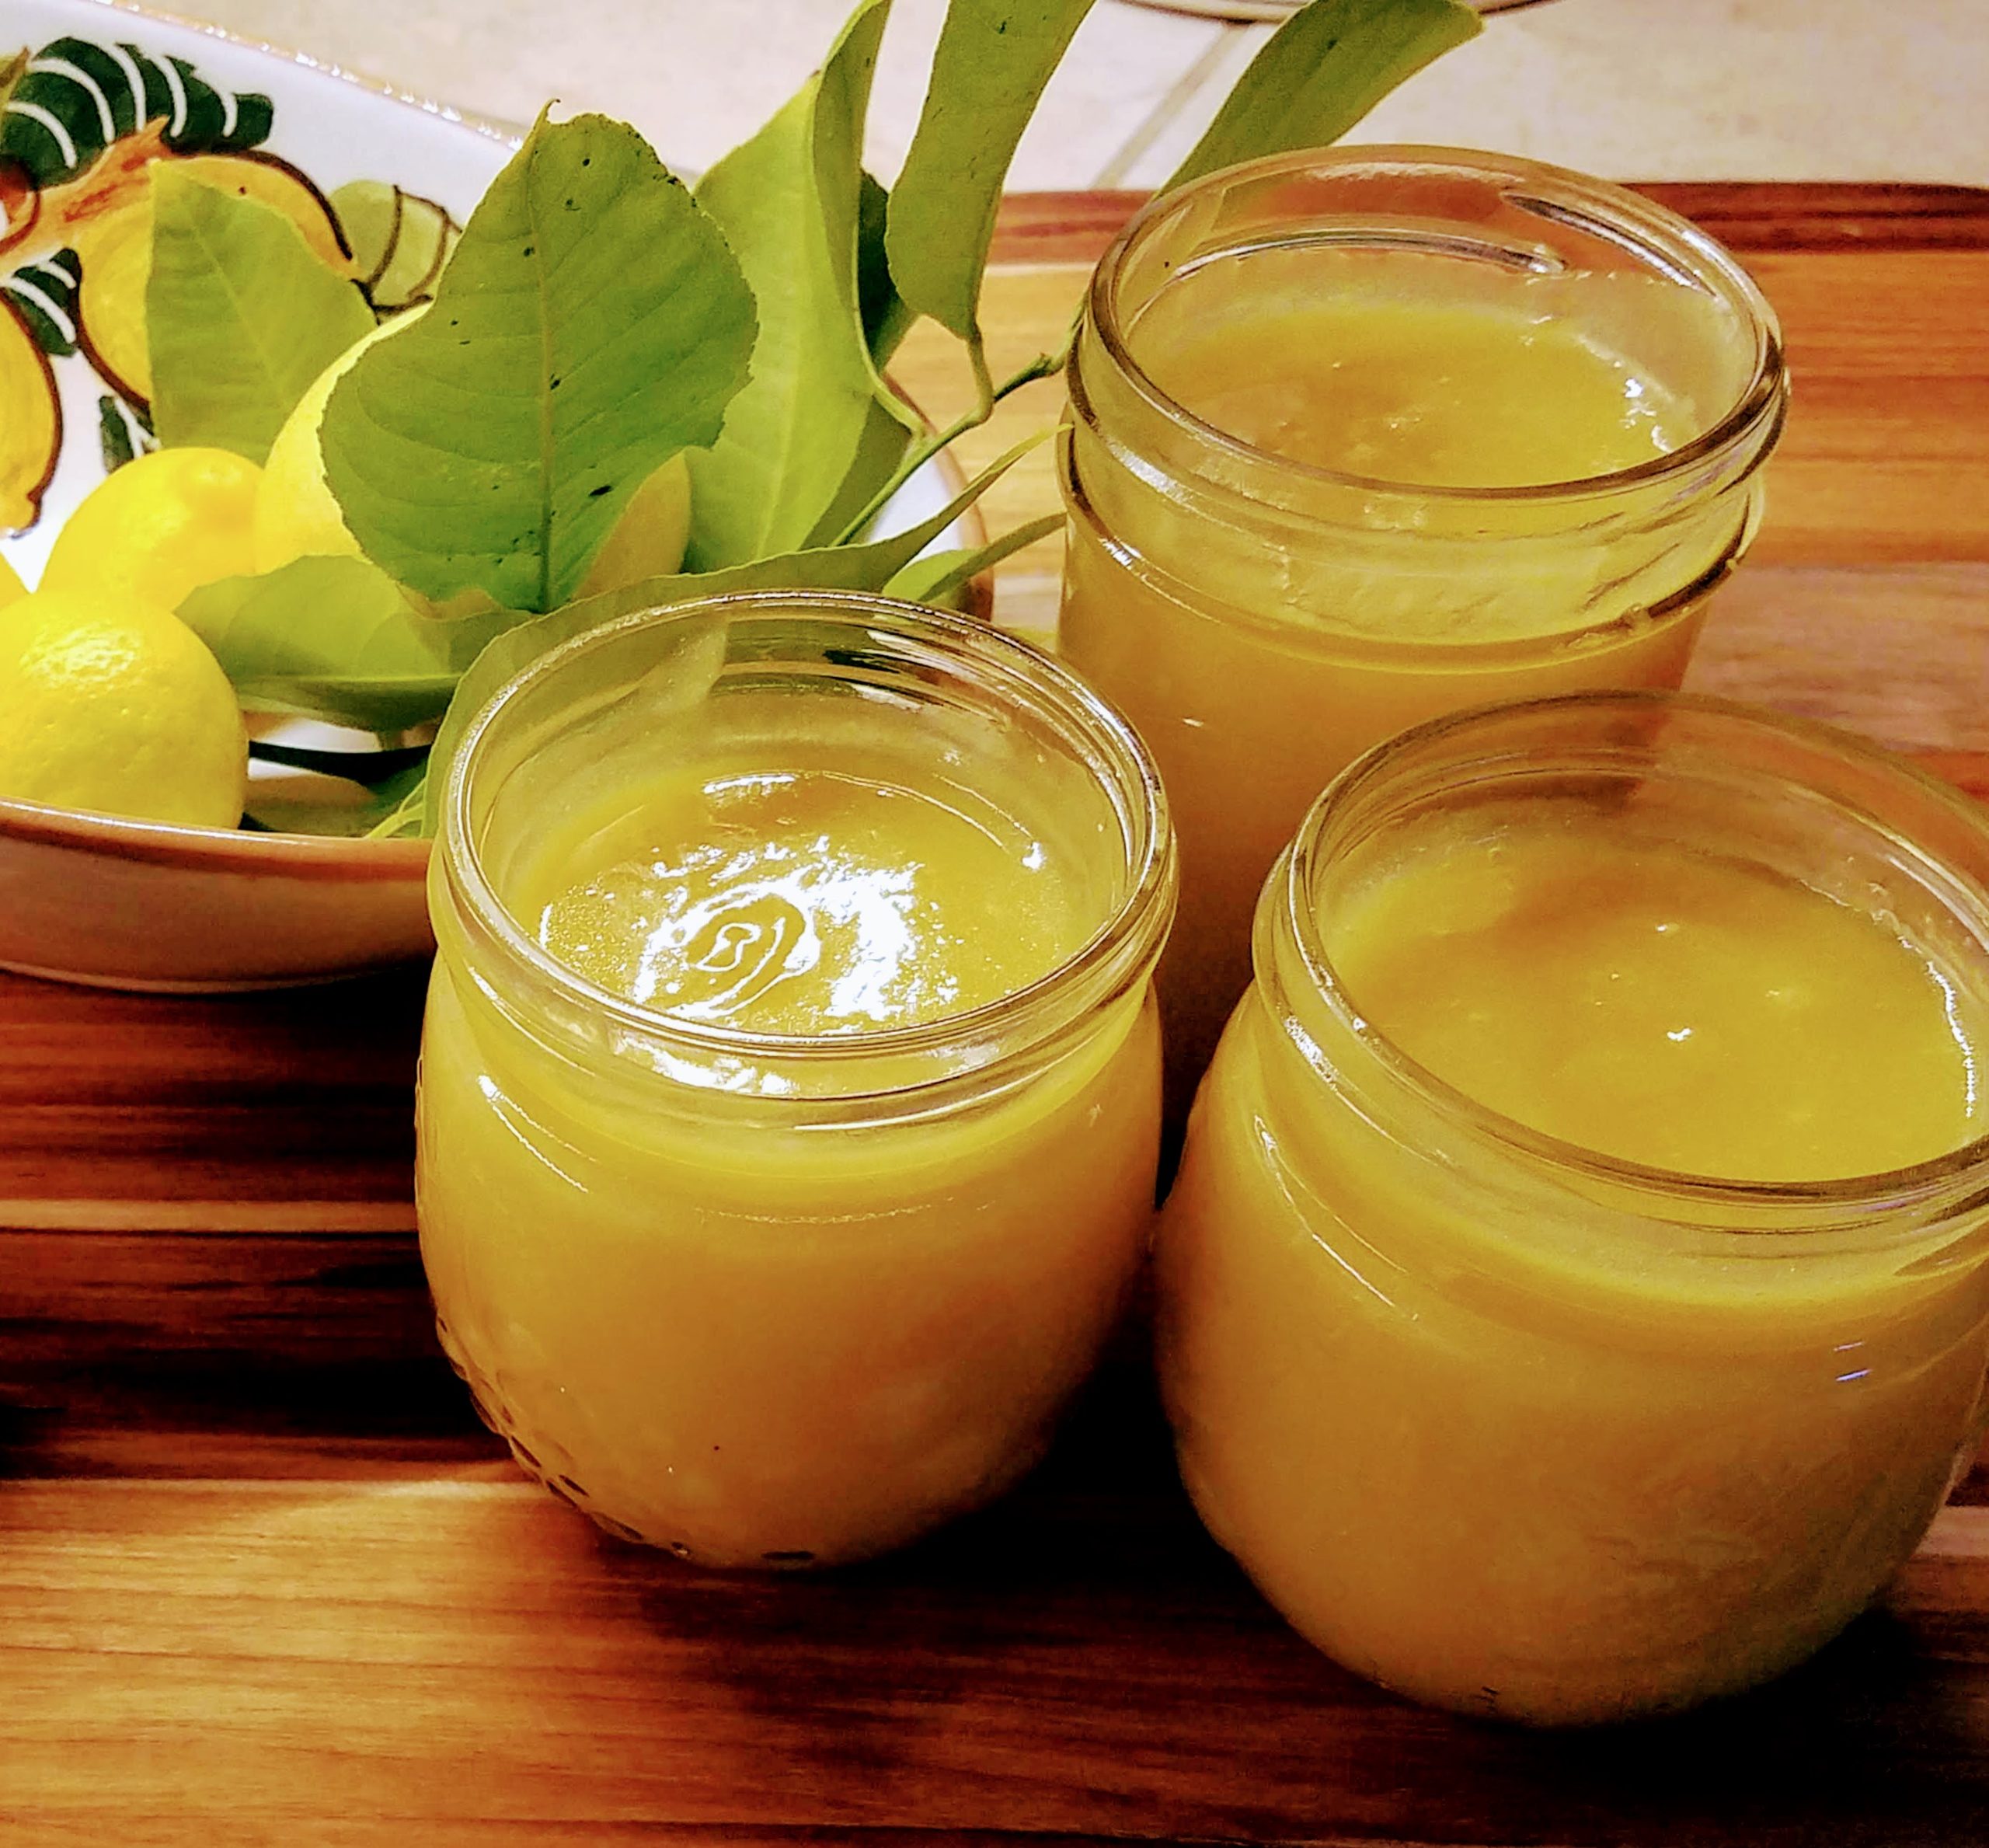
Baking and cooking without power! Today we cooked up some Meyer Lemon Curd for eating with scones, to use as a topping for waffles, crepes or pancakes and for using as a filling in these Meyer Lemon Curd Mini Tarlets with a No-Bake Gluten Free Crust (or for a larger tart, like my Gluten Free Raspberry Lemon Tart). This would also work well in a gluten free shortbread crust with meringue on top (that is such a pretty tart!) I’m getting this post up late as we had no internet and no power until this afternoon.
And here it is a new year! We can still find ways to cook up some glorious food and desserts and enjoy this life! And life is good! We are missing the company, as we usually have lots of get-together’s here, but we have good food in plenty and so many blessings around us! We are sure missing having our friends and family here at our house. We love getting people together over good food and good drink. Know that we are thinking of you and hopeful for when we can start being together over good food (maybe soon, outside on the deck….”Wine on the Deck”).
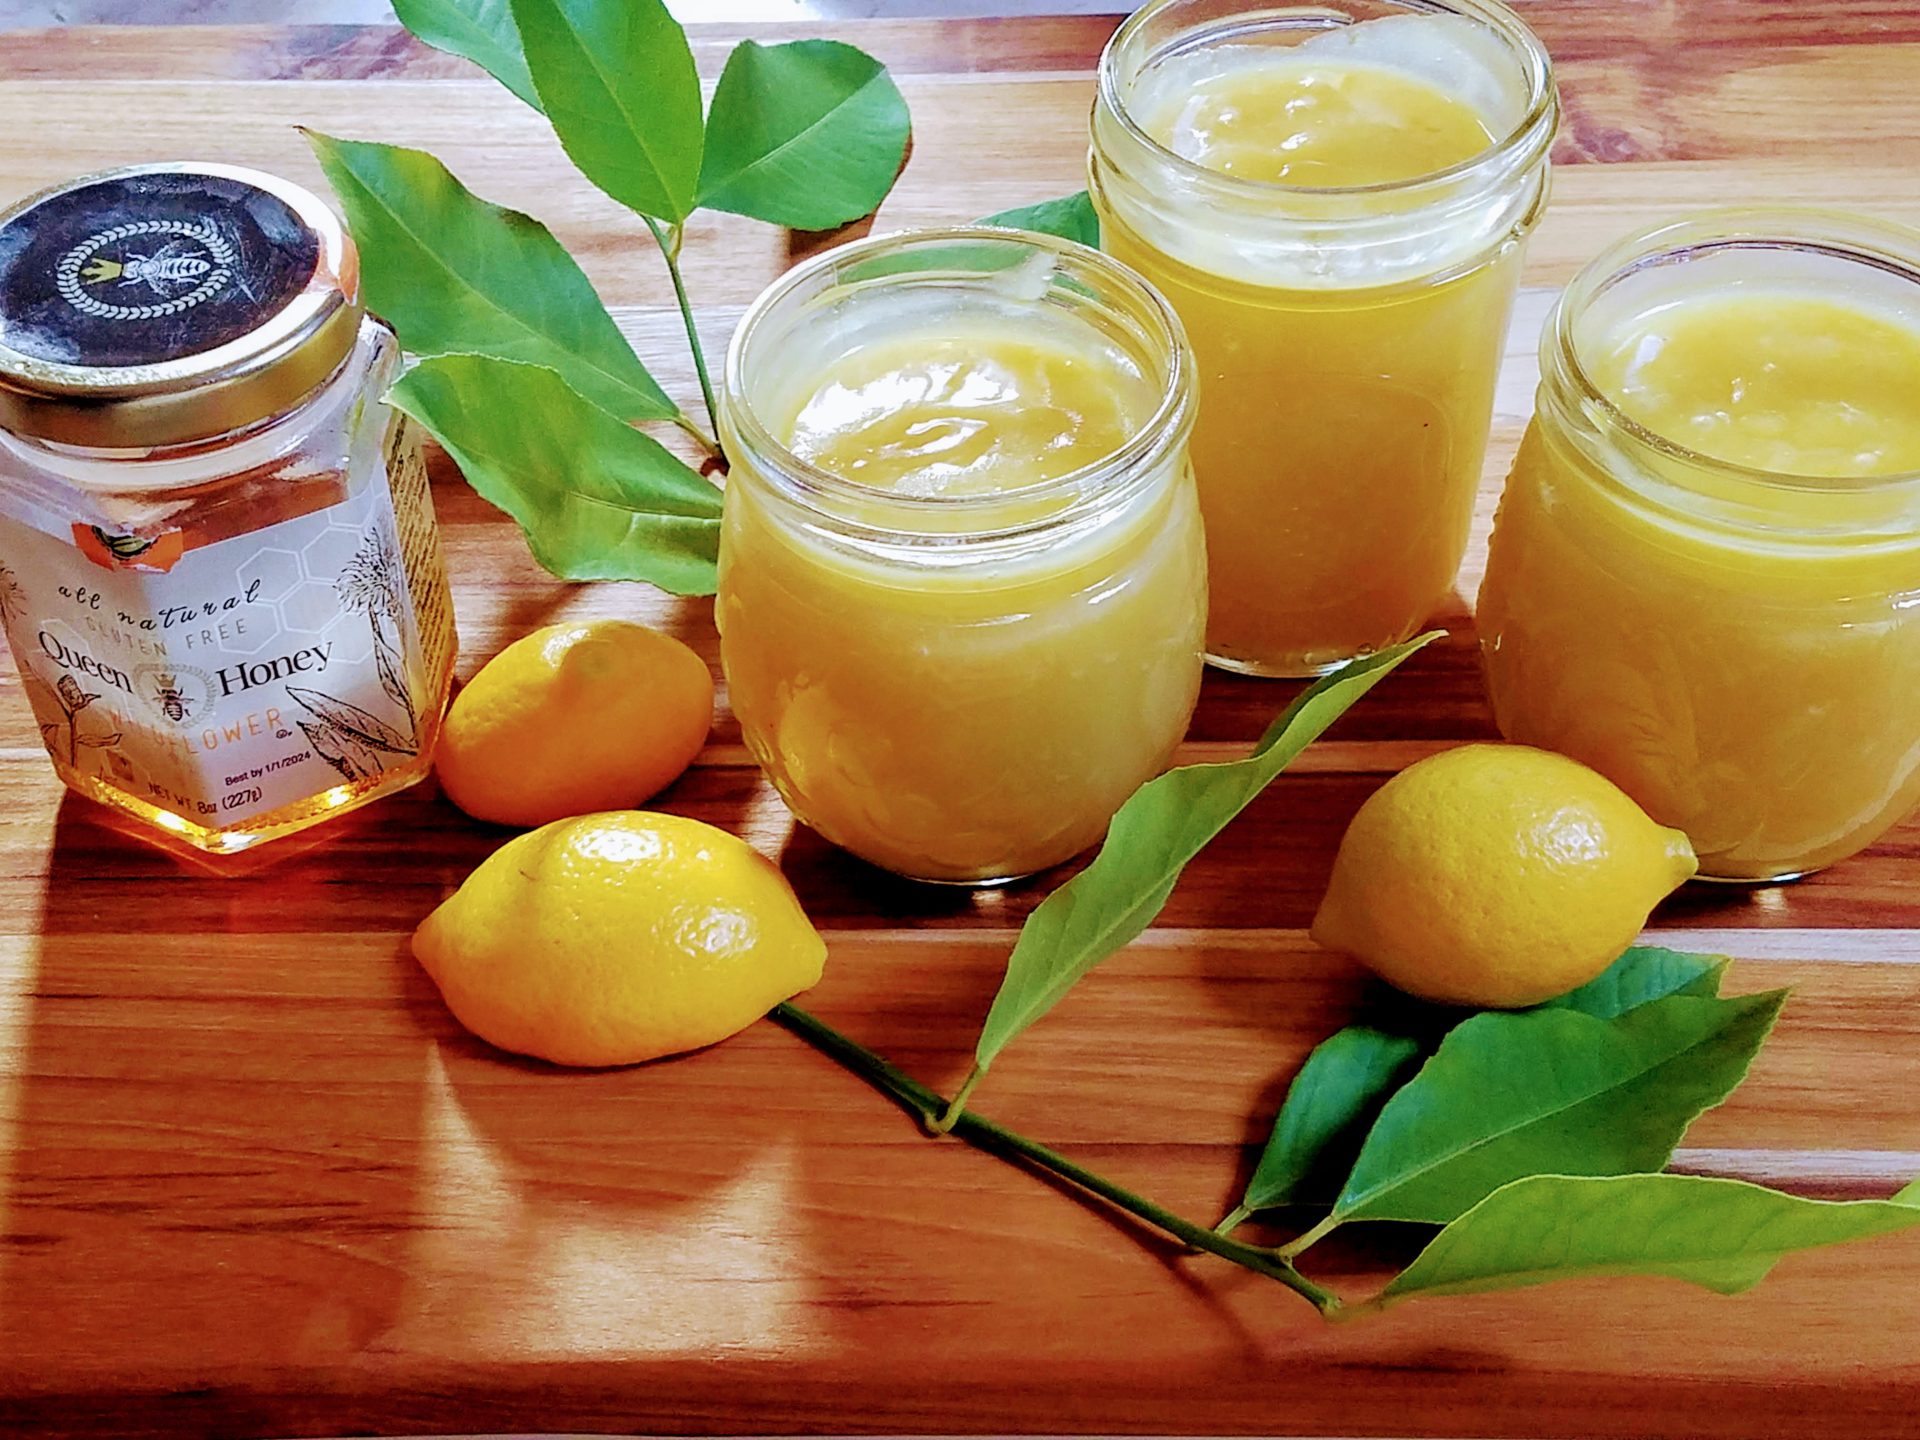
Yum! Lemon flavor in desserts is definitely one of the best! Meyer lemons tend to be slightly sweeter and they also have a beautiful color on the skin which translates into beautifully colored lemon curd. I use part honey in this recipe to reduce the amount of sugar, and also organic cane sugar, which has less of an adverse affect on me than fully processed granulated sugar. Although white sugar and organic cane sugar both have the same compounds, and both contain sucrose, the organic cane sugar is processed much less and more of the nutrients are retained. The lemons were the last few from out potted Meyer Lemon tree, which we love. And it survived the fires and evacuation, although it didn’t produce as much fruit.
I hope you enjoy the Meyer Lemon Curd! I am going to double the recipe and can the lemon curd so we always have some on hand, but you could also freeze it in jars if you’d rather not can it.
~ Laura

Meyer Lemon Curd
Ingredients
- 4-5 Meyer lemons
- 1 stick plus 2 tablespoons salted butter softened, (if substituting unsalted butter add an 1/8 teaspoon salt)
- ½ cup honey
- ¾ cup plus 2 tablespoons organic cane sugar
- ½ cup plus 2 tablespoons Meyer lemon juice
- 4 whole x-large eggs (or 220 grams), room temperature
- 2 tablespoons lemon zest
Instructions
- Zest the rinsed and dried lemons until you have 2 tablespoons of lemon zest (from about 2 or 3 Meyer lemons which tend to be smaller). You will not need all the lemons zested. Set aside. Then juice the lemons to get the required ½ cup plus 2 tablespoons of juice. Set aside.
- Mix in a mixer with a whisk attachment or by hand with a whisk, softened butter, sugar, and honey until fully creamed together. Add the lemon juice and continue mixing for a minute. Add the eggs one at a time until thoroughly mixed together. The mixture will look chunky and curdly. Don’t worry! Once you cook it, it will be very smooth. Add the eggs, one at a time, until thoroughly mixed.
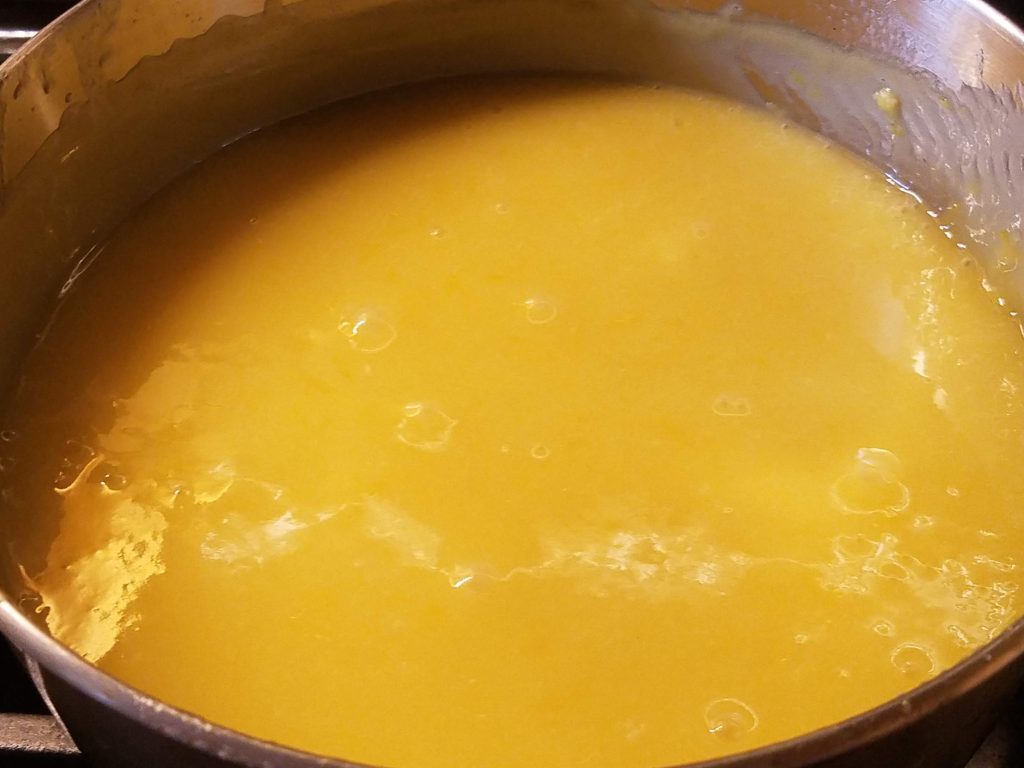
- Pour into a 2 quart saucepan (or use a double boiler with a glass bowl over a saucepan of simmering water just below the bowl but not touching it). Cook over very low heat for 8 minutes, stirring continually with a whisk or a wooden spoon. At this point the mixture should begin to thicken. Add the lemon zest in, stirring to incorporate and continue to cook for 2-5 (for a total of 10-15 minutes). Check the temperature and remove from heat after the curd reaches 170 degrees F. The lemon curd should look a little thick but will continue to thicken as it cools. This process of thickening can take up to 12 hours! Stir for a few minutes after removing from the heat to allow the curd to thicken.

- Remove the curd from from heat and pour into clean, dry jars. If you don’t like any texture from the zest, you can strain the curd through a metal sieve before jarring. I don’t mind the texture of the zest, but if there were any lumps, I would definitely strain it. It should have a very smooth and silky texture. Makes 3 – ½ pint jars of lemon curd. Cool completely before refrigerating for up to 2 weeks (better make some tarts!) or can the jars (be sure to leave 1/2 inch head space) and can the jars for 15 minutes in boiling water. Always check the seal after removing from the water bath and after cooling.

