There’s nothing like homemade ice in my opinion! We had a hand crank small ice cream maker when we were first married, which was great for us then, but then both my daughters got the Cuisinart Ice Cream Maker.
I decided I “needed” one too! It was a great deal a few years ago for around $129, I believe. The ease of the Cuisinart Ice Cream Maker makes me so happy! Just put the cylinder in the freezer for a minimum of 8 hours (or overnight).
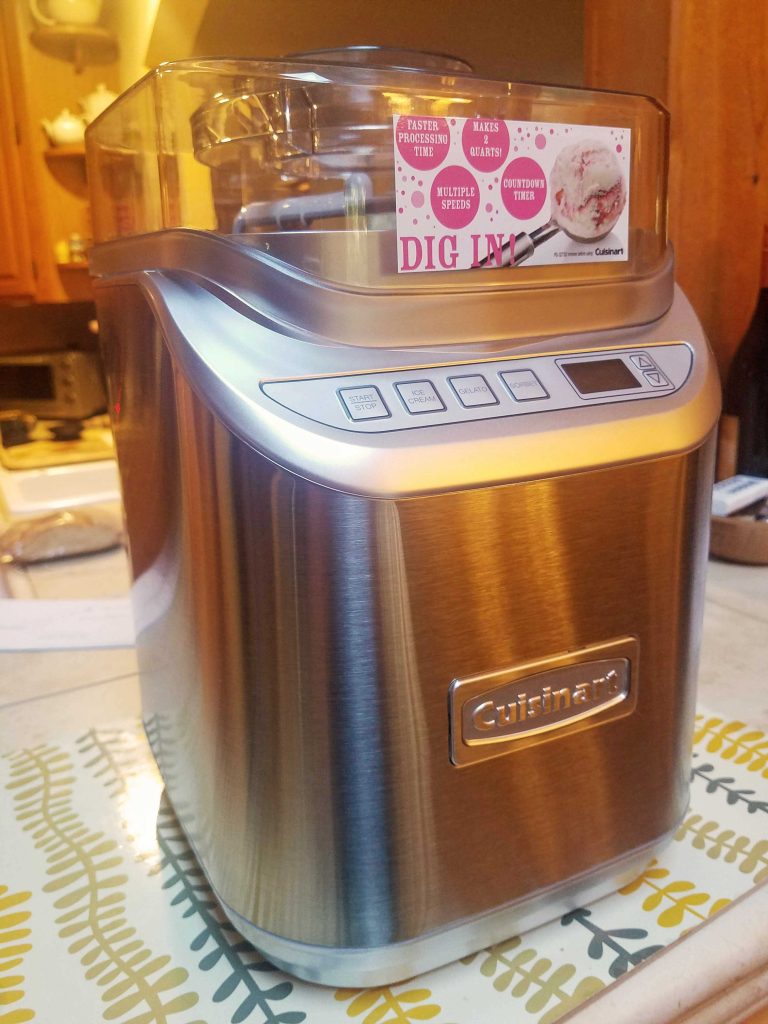
Chill your cylinder well before making your ice cream
Make sure to chill your ice cream base well. Overnight chilling is best. Then set the cylinder in, add blade and lid. Lastly, pour the ice cream base in and press the setting you desire and “start”. Voila! Ice cream in 25 -35 minutes!
We usually freeze ours for 2-4 hours after removing it as it usually is a bit soft still. The ice cream is so delicious!
Berry Picking
We live in one of the most berry rich areas of the world, but lately we pick wild blackberries in our neighborhood. I’ll either make something with them immediately, or just rinse and dry. Then freeze in small containers, adding to them as we pick more.
When I have enough stored up, I’ll decide what to make! Perhaps a pie, a cobbler, or use them in smoothies, or make this Wild Blackberry Ice Cream!
In our area, there are also several U-Pick farms to visit. You can pick buckets of berries in no time at all! Then bring them home, clean, and make jams or freeze them for later. When our kids were young, we visit these farms at least once during the summer, picking all of our favorite berries.
Gelato-Like texture
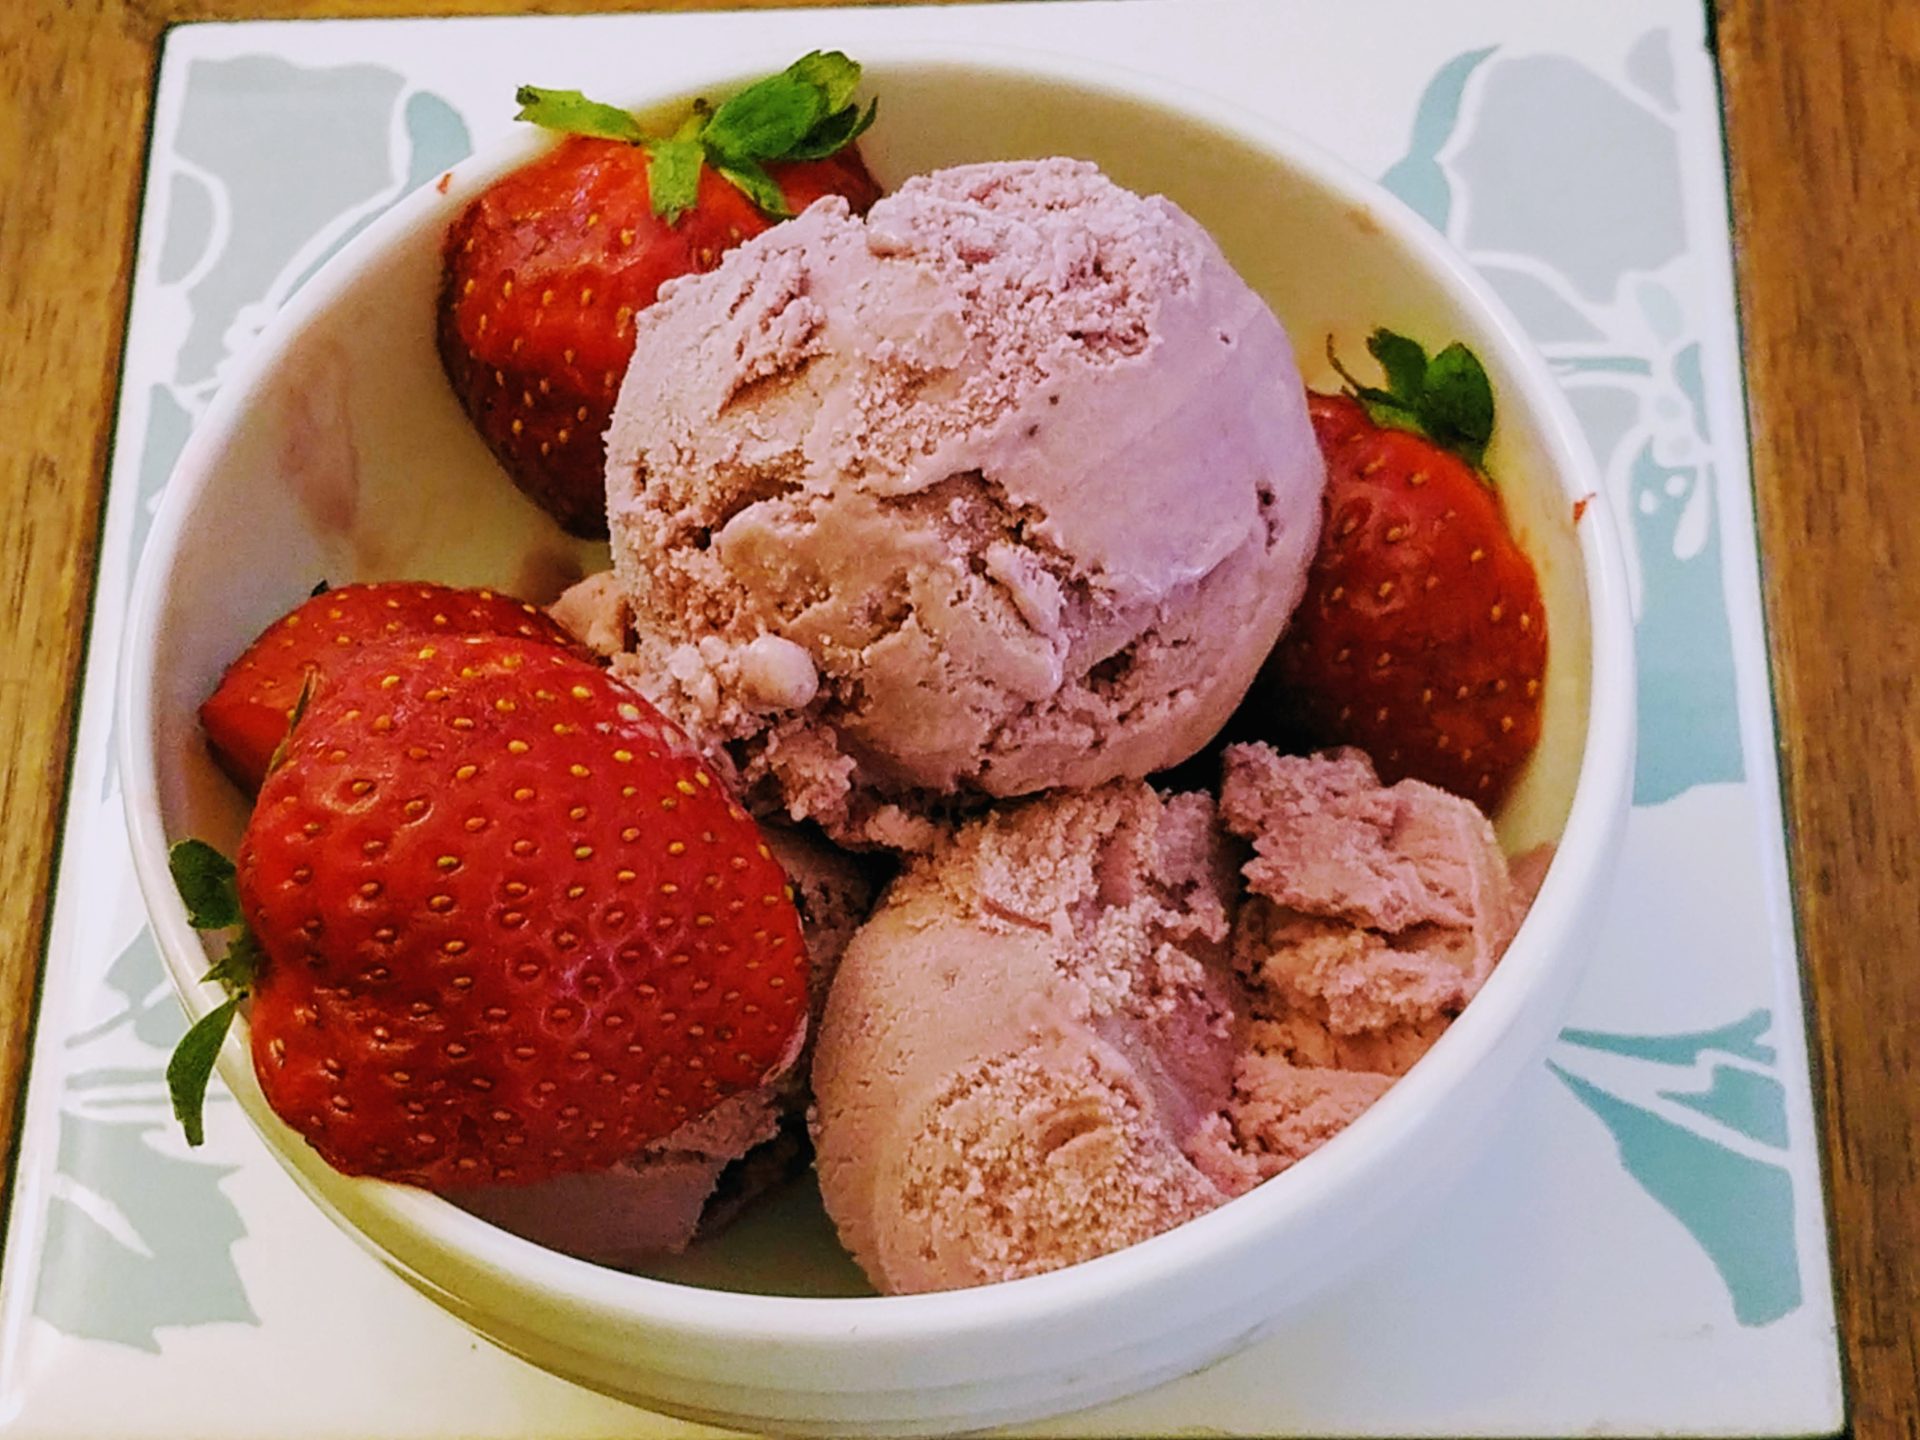
The ice cream here has a bit of an Italian gelato texture to it, which is perfectly both thick and creamy, while still containing more milk than cream.
I mixed wild blackberries picked here in our neighborhood for this batch, and also picked by my friend, Joanne…thank you Joanne!
This is summer in a bowl! Make it for your next summer party and you’ll have some very ecstatic guests! It’s so refreshing! Top it with more berries, whipped cream, or just enjoy by itself.
~Laura
(Updated 4/2023)
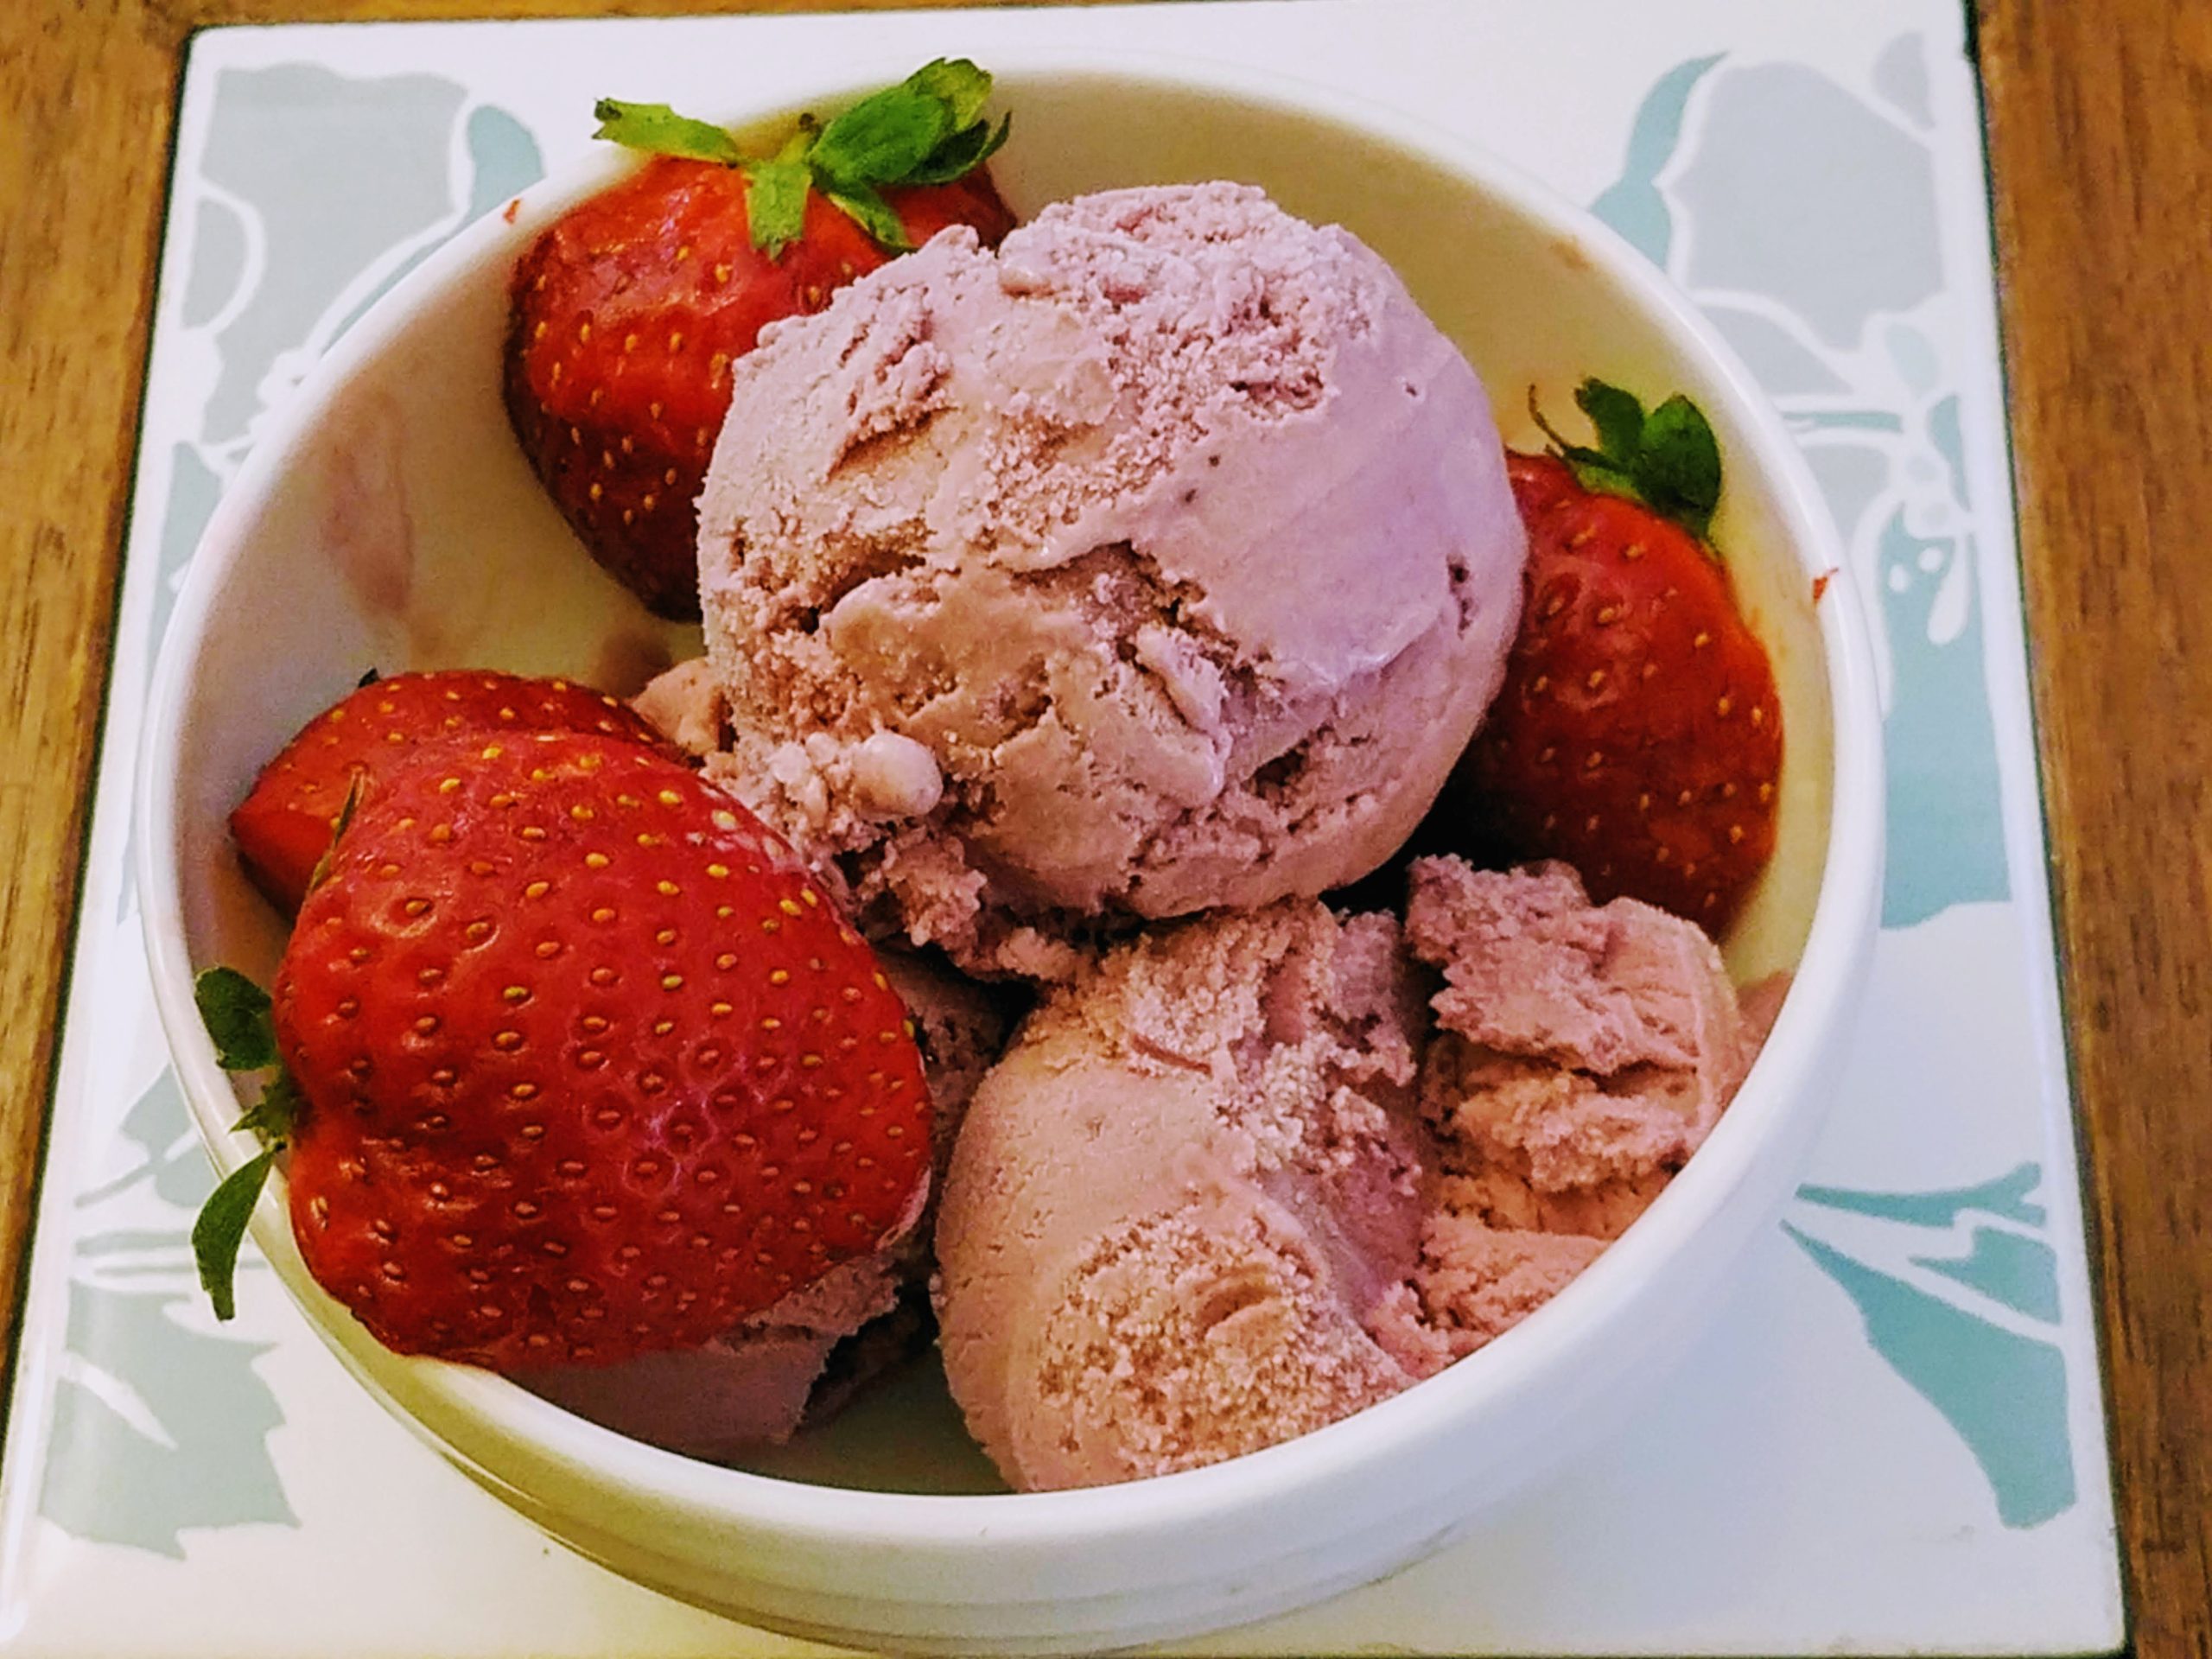
Wild Blackberry Ice Cream (Gluten Free)
Ingredients
- 1 1 /2 cups heavy cream
- 2 1/2 cups milk
- Pinch of salt
- 2 tablespoon of cornstarch, gf
- 1 1/3 cups organic cane sugar
- 4 cups wild blackberries, Olallieberries, or boysenberries, or a combination of a few types of berries
- 1 1/2 tablespoons lemon juice
- 1/3 cup water
- 5 large egg yolks
- 1/2 teaspoon McCormick Schilling raspberry extract
- 1/2 teaspoon pure vanilla extract, gf
Instructions
- Put the blackberries in a medium saucepan with the lemon juice, 1/3 cup of sugar, and the water. Cook down over low heat for 15 minutes, stirring often and pressing the berries with a potato masher or spoon. Remove from the heat and strain through a fine sieve to remove seeds and pulp. Use the back of a spoon to push the mixture through the sieve into a clean bowl. Let cool.
- In the bowl of a stand mixer or in a bowl whisking by hand, whisk the egg yolks and 2/3 cup sugar until light yellow colored and thick. Set aside.
- In another medium saucepan, add the cream, milk, and 1/3 cup of the sugar, and cornstarch. Whisk together completely before turning the burner on medium or medium low. Stir continuously until it comes to a boil. Pour one third of the hot mixture into the egg yolks mixture, stirring briskly to incorporate. Pour back into the saucepan and continue cooking over medium low heat stirring continuously until the custard coats the back of a wooden spoon. Do not let the mixture come to a boil.
- After removing from the heat, stir in the berry puree, the raspberry extract, and vanilla extract. Pass through a fine sieve again into a clean bowl. Set to cool on the counter. Cover and chill in the refrigerator for 2-3 hours or overnight. Process according to your ice cream manufacturer's instructions. Remove and put in an airtight Rubbermaid container for 2-4 hours or overnight. Remove 10-15 minutes before serving.
Psst…We’re on Pinterest! Check out our Mama Laura’s Kitchen Pinterest and pin your favorite recipes!
