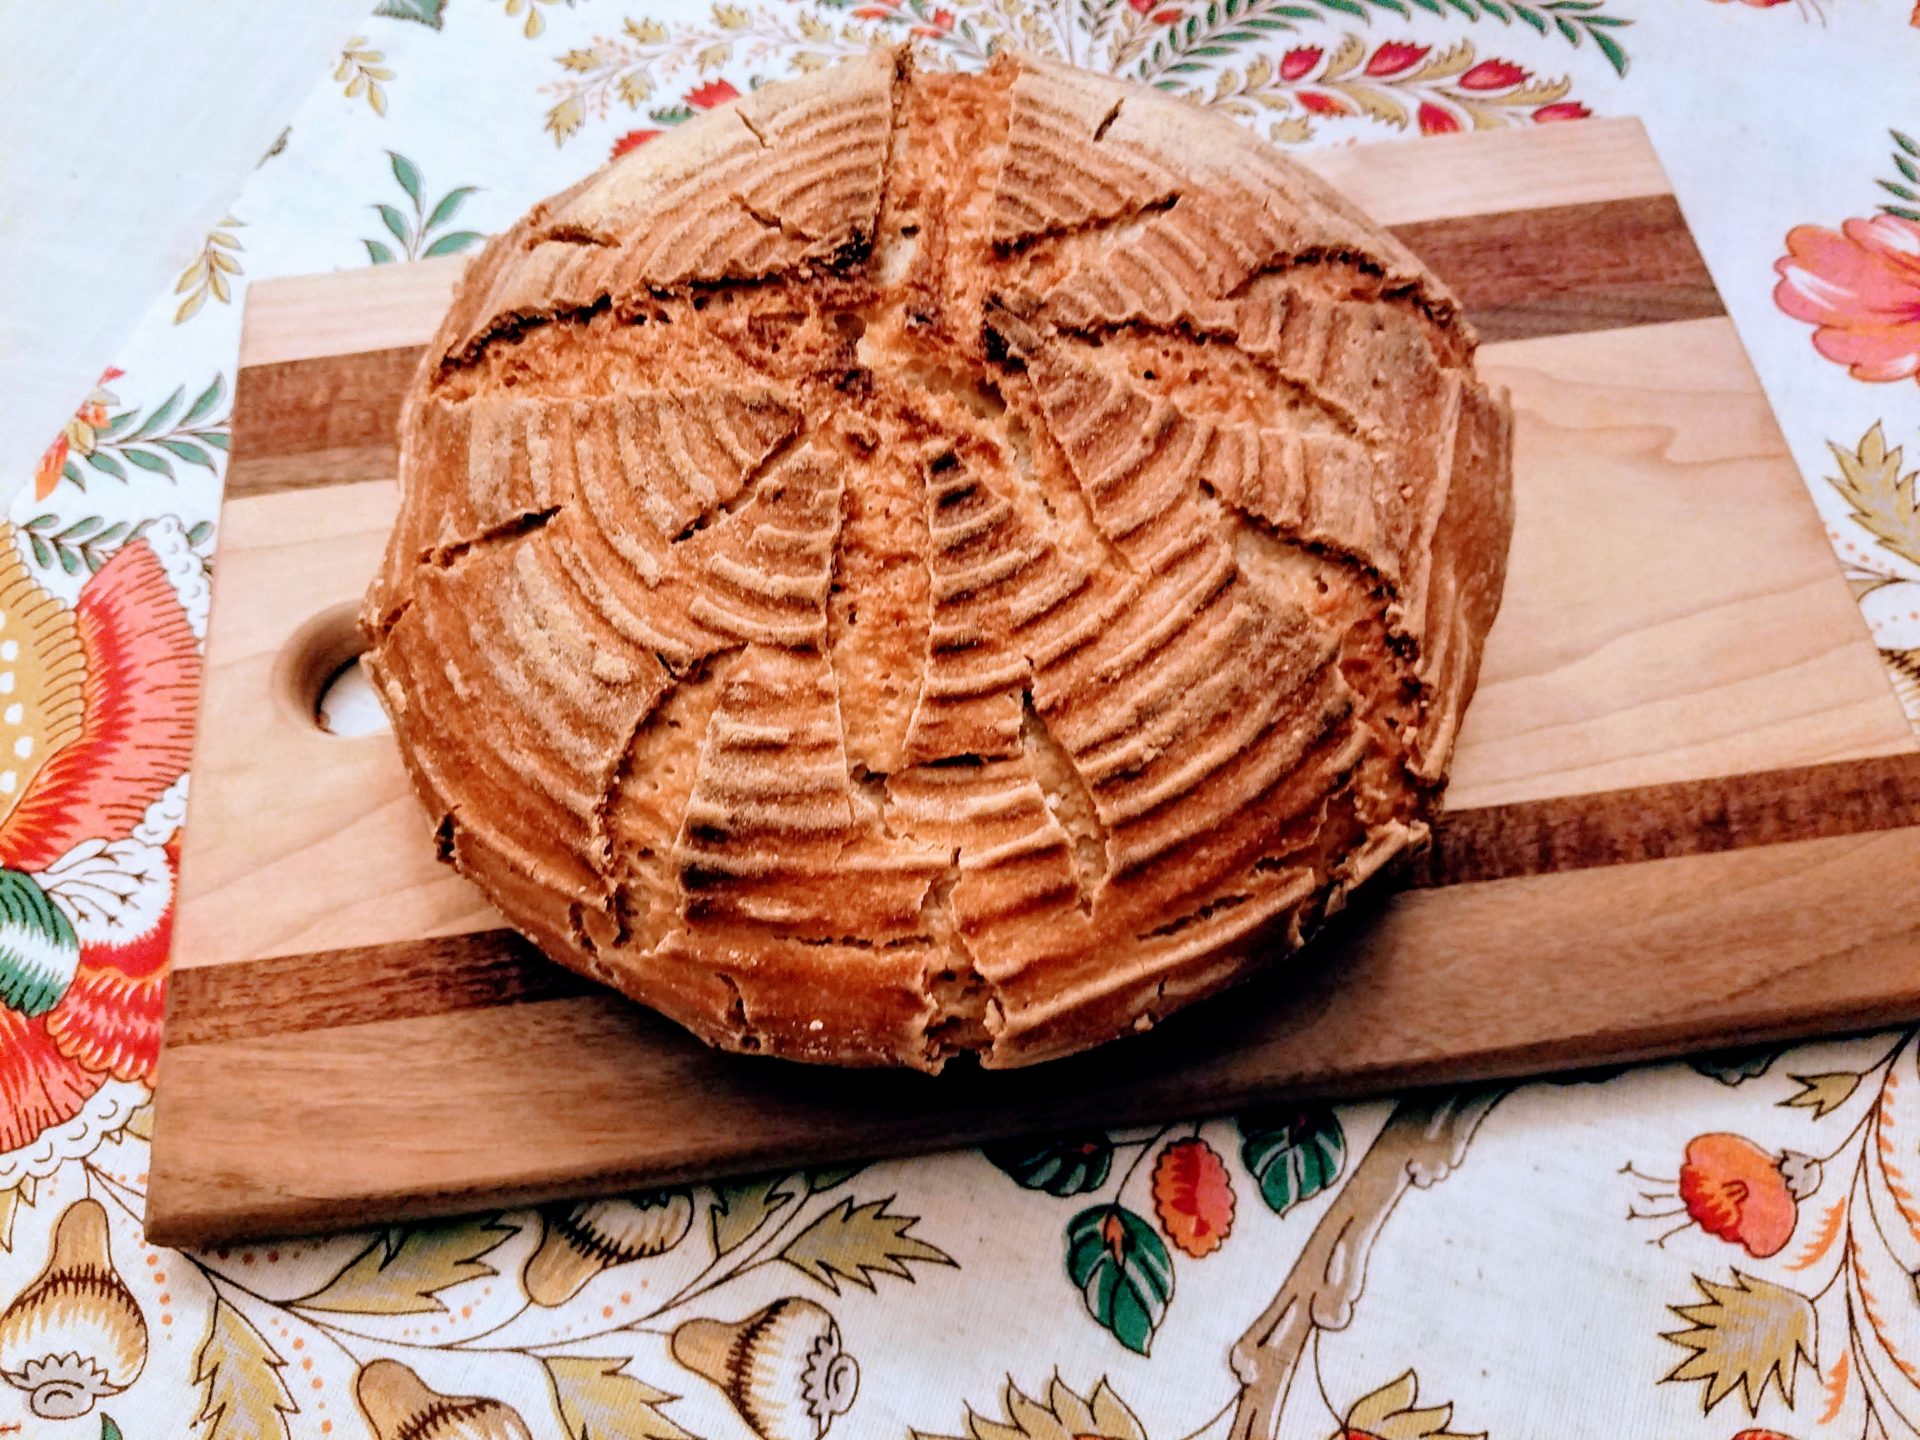
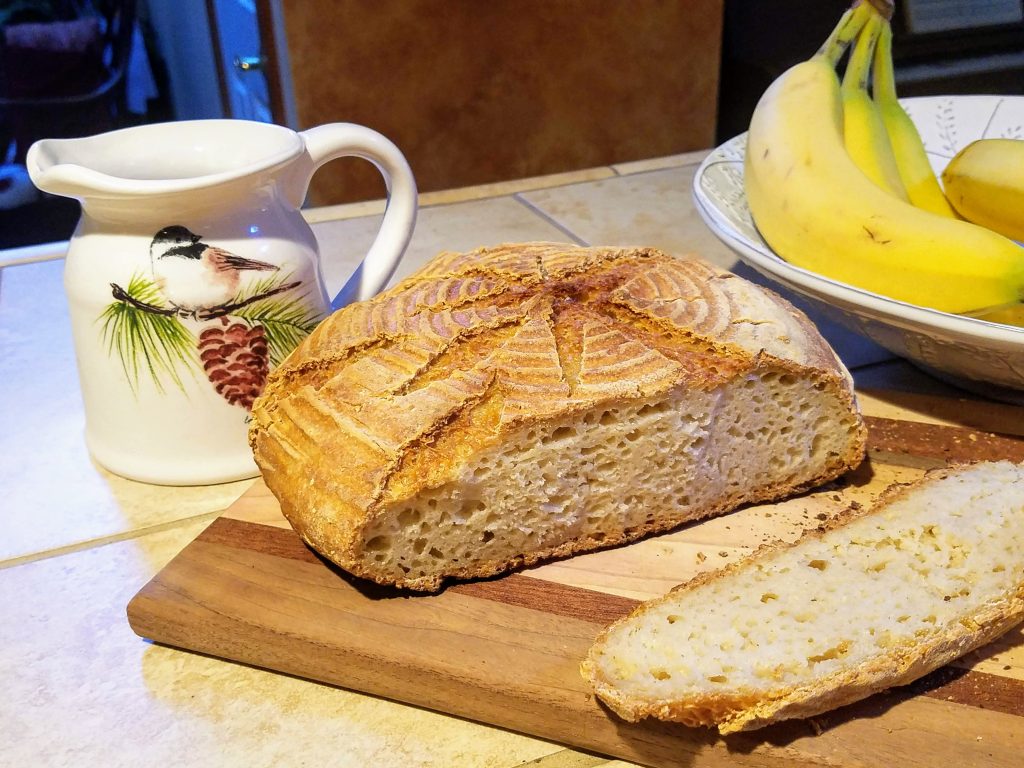
If you had asked me in the past if I was stranded on an island and could only have one food, which food would I have chosen? Sourdough bread! This Gluten Free Sourdough Round is a complete winner!
My husband and I used to eat loaves and loaves of this bread in the past….So, when I could no longer have it because I had to eat gluten free, and yet still had to be taunted with the beautiful smell of it as my family indulged, it made me a bit sad. Now, I can honestly say this recipe for sourdough bread is very good. Is it exactly as it’s second cousin loaf, the gluten filled wheat sourdough bread…no….but still a satisfying and delicious toast. Adding the tapioca helps the texture so it’s not as crumbly, giving it a smoother and a bit lighter feel. Give it a try and I hope you enjoy it!
~Laura
(Updated 6/2022)
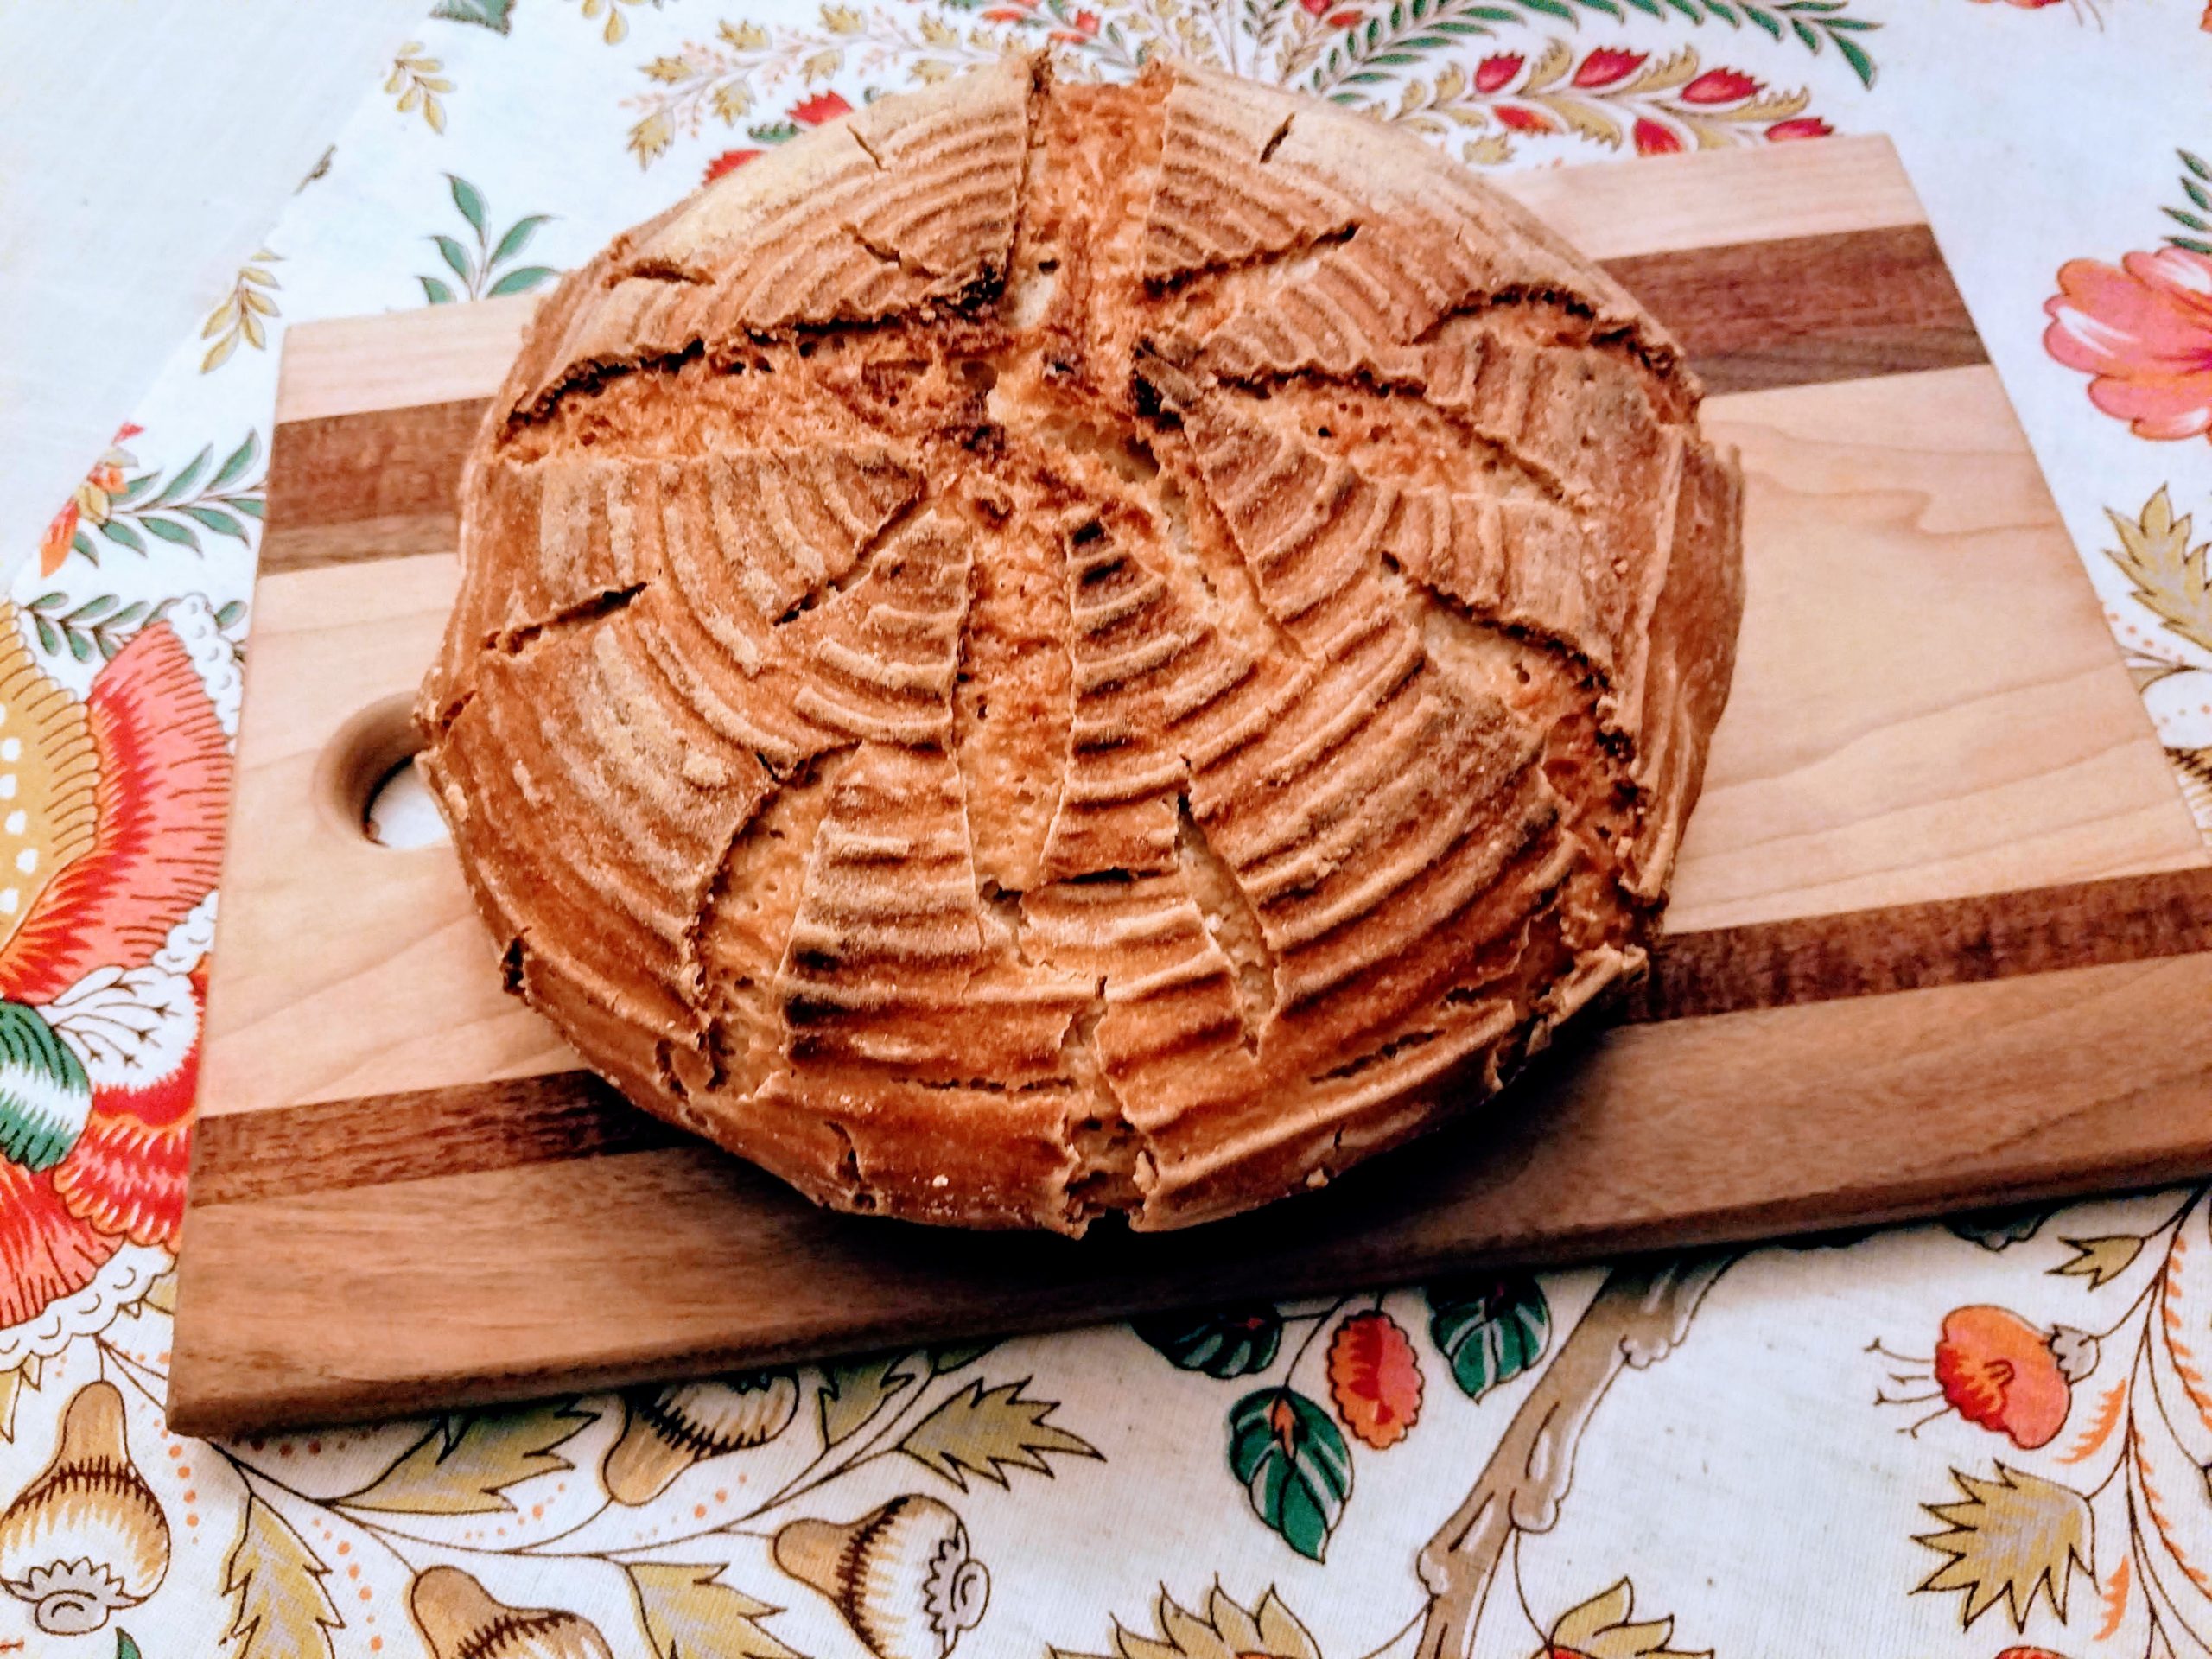
Gluten Free Sourdough Round
Equipment
- a dutch oven with a cover
- a baking/cooking thermometer
- a large square of parchment paper
- a sourdough basket (banneton) or large bowl for rising the bread dough
- lame tool or sharp knife for making decorative slits before baking
Ingredients
Hand mix and let sit all day in a large covered bowl:
- 1 cup unfed sourdough starter, 100% hydration (can use fed starter also but it may rise faster)
- 1 1/2 cups warm water
- 1 cup sorghum flour
- 1/2 cup gluten free all purpose 1 for 1 flour, Cup 4 Cup Gluten Free Blend or Bob's 1 for 1 Gluten Free Flour
- 1 T olive oil
That evening add:
- 1/2 cup gluten free 1 for 1 all purpose flour
- 1 cup tapioca starch
- 2 t. salt
- 2 T honey
- 1/2 – 3/4 cup additional gluten free 1 for 1 flour
- 1/2 to 3/4 cup of additional sorghum or 1 to 1 for kneading
Instructions
- Mix the second addition of ingredients in to your bowl that you started in the morning. You may mix the ingredients in by hand or use a stand mixer with a bread hook attachment. Mix until all ingredients are well combined. Add the additional 1/2 -3/4 cup more of Gluten Free 1 for 1 Flour. The dough should still be a little soft in consistency, so add the additional flour in gradually.
- Mix the dough with your hands or a wooden spoon until the flour is completely mixed in, or if using a stand mixer, mix on medium speed for 4 to 5 minutes, stopping the mixer every minute to scrape off the hook.
- Scape the dough unto a well floured board and knead for 3-4 minutes, adding more of the 1/2 – 3/4 cup of sorghum or 1 to 1 flour. The dough will be sticky at first. Wetting your hands a little will keep from the dough from sticking to them. Knead by stretching to a rectangular, then folding the sides in, turning and repeating, adding flour as needed. The dough should be soft and pliable but hold together.
- Dust heavily with gluten free flour, a sourdough basket. If you don't have one, a large bowl with a damp, floured towel can be used. Put the dough into the prepared basket or bowl and smooth the surface a bit with a spatula and a little water on your hands.
- Cover with a towel or cellophane and let rise overnight or for 12-20 hours. I rise mine in the oven on the Bread Proof setting. You can also rise in the oven with the oven light on or just on the counter. Be sure to cover with a towel or cellophane for rising.
- The dough should have risen 1 – 1 1/2 inches in the basket after the 12 – 20 hours rise time. It's then ready to bake.
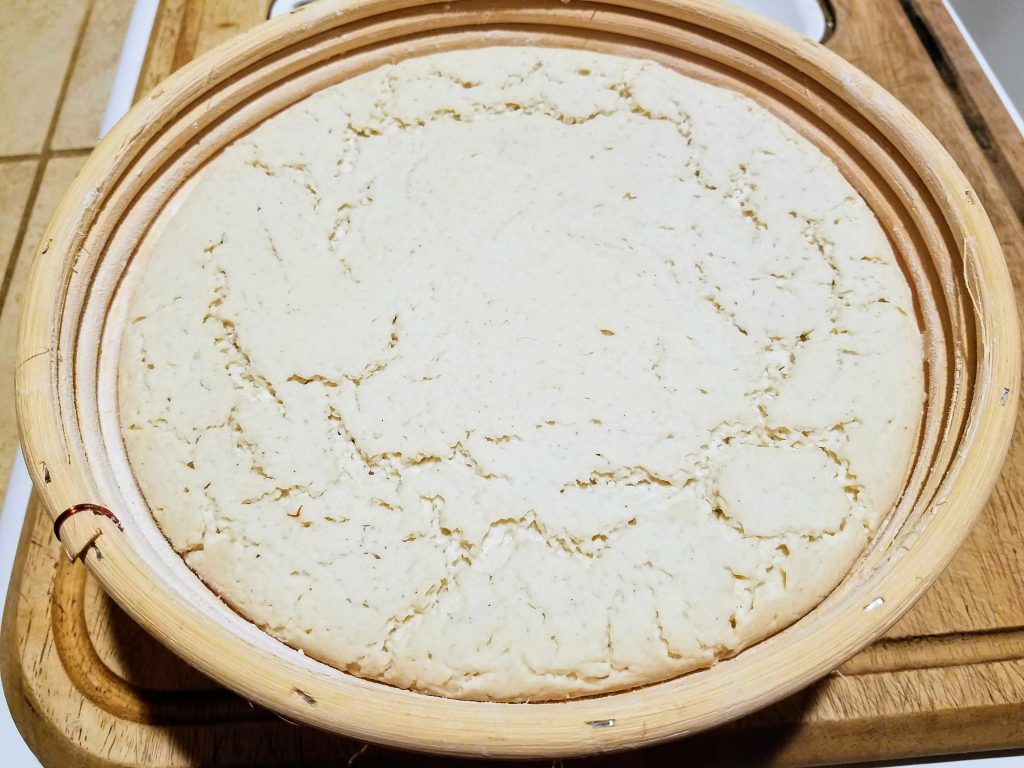
- Preheat your oven to 500 degrees. Place your Dutch, covered, in the oven on the center rack to preheat.
- Once the oven is almost up to temperature, cut a piece of parchment larger than the size of your dough. Lay parchment over the bread basket or bowl, then a cutting board over that. Carefully hold the cutting board and the basket together as you turn them over. The basket will be on the top. Remove the basket very gently to uncover the bread. The basket creates the beautiful lines around the loaf.
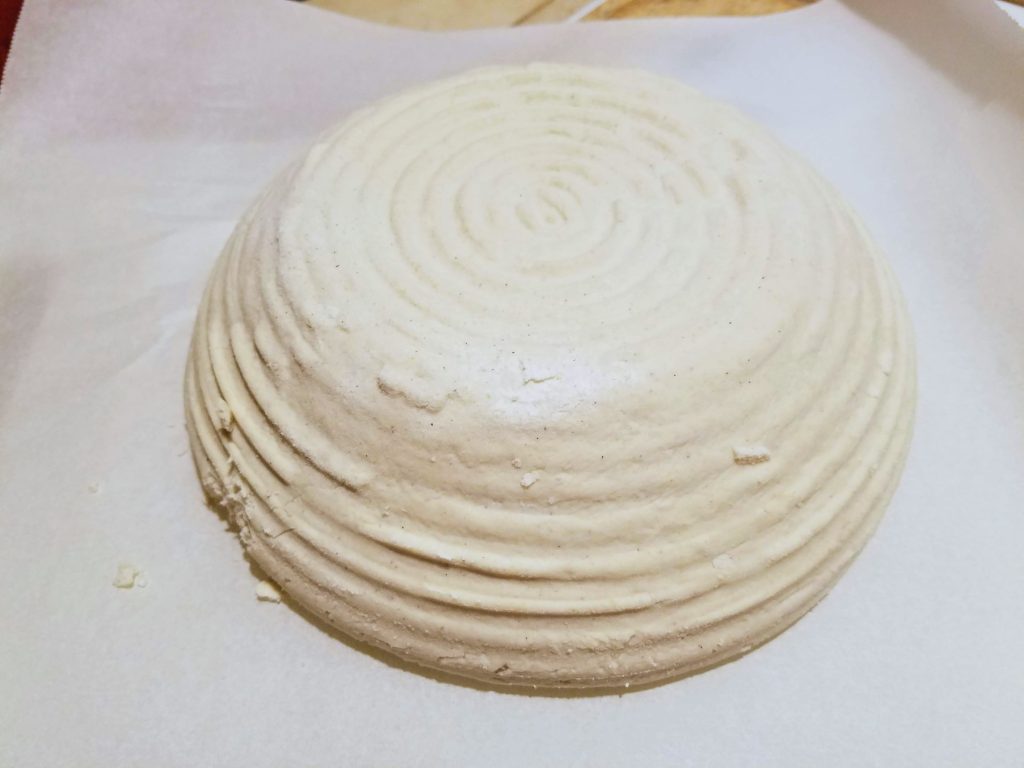
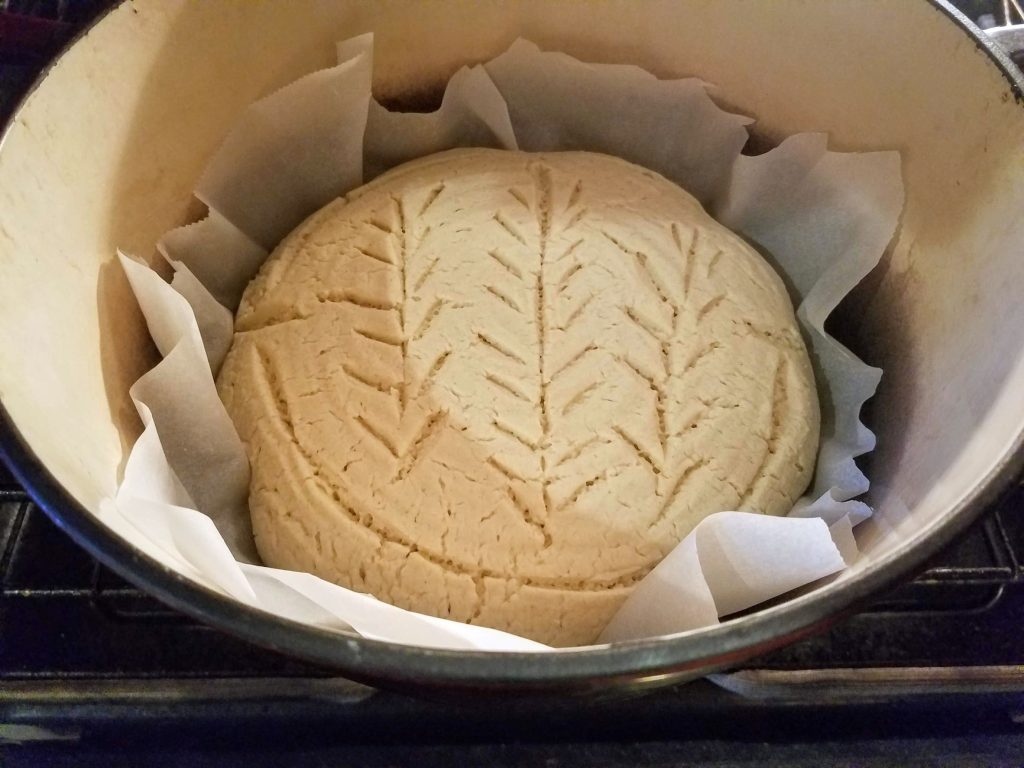
- Make decorative slits in the bread (about a half inch in depth). You can do a star or any decoration you wish. Remove the preheated Dutch oven from your oven and remove lid. Gently place the loaf with the parchment under it into the Dutch oven, while holding onto the edges of the parchment.
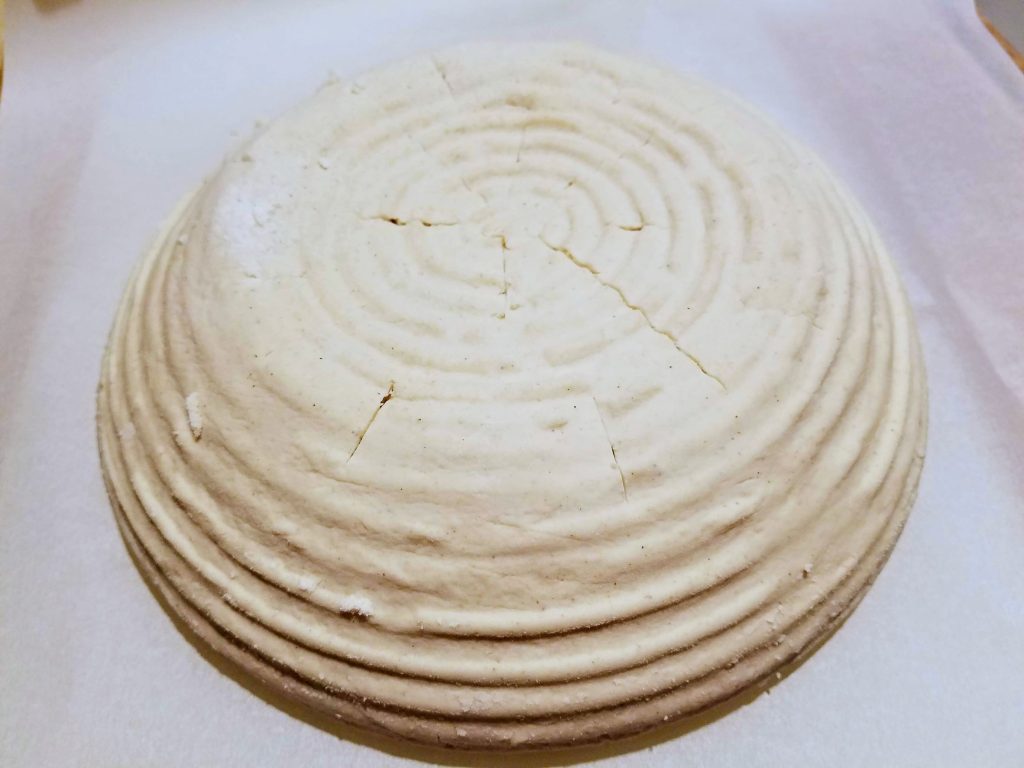
- Replace the Dutch oven cover and place on the middle rack of the oven. Turn oven down to 450 degrees. Bake 25 minutes covered.
- Remove the cover from the Dutch oven and continue to bake another 25 minutes.
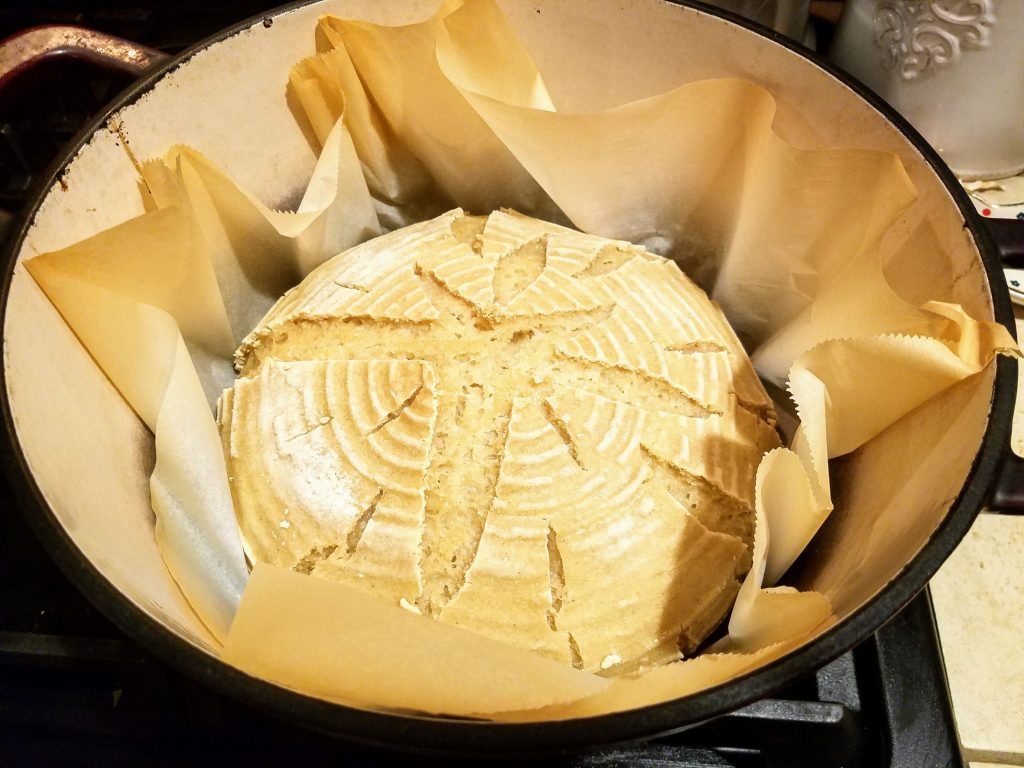
- Remove bread from the Dutch oven and place directly on the oven rack and bake for 6 -10 minutes. The internal temperature should be 213 degrees F. If your bread begins to brown too much, turn oven temperature down to 400 for the last few minutes. Remove the bread to a cooling rack when the temperature reaches 213 degrees.
- Let the loaf cool for 2 1/2 – 3 hours to cool completely before slicing! This is the hardest part! Waiting until you can slice the bread and enjoy! This bread is best eaten the first day or toasted and eaten. Keep on the counter covered with foil or in a Ziploc, or move to the refrigerator for up to 3 days. You can also slice the loaf and place slices between parchment paper, before moving into a Ziploc bag to freeze.
If you enjoyed this Gluten Free Sourdough Round recipe, you may want to check out our other Sourdough recipes! 🙂 Here are some favorites:
Gluten Free Sourdough Focaccia Bread
Gluten Free Sourdough Cheddar and Garlic Round
Gluten Free Sourdough Cinnamon Rolls
Gluten Free “Rye Like” Sourdough Bread
Psst…We’re on Pinterest! Check out our Mama Laura’s Kitchen Pinterest and pin your favorite recipes!

